Vue3【二十一】Vue 路由模式(createWebHashHistory /createWebHistory )和RouterLink写法
ggome 2024-06-29 10:33:01 阅读 90
Vue3【二十一】Vue 路由模式(createWebHashHistory /createWebHistory )和RouterLink写法
Vue3【二十一】Vue 路由模式和普通组件目录结构
createWebHistory history模式:url不带#号,需要后端做url适配 适合销售项目 利于seo
createWebHashHistory Hash模式:url 带#号,不需要url适配,比较适合后端项目 不利于seo
路由命名 和 配置路由规则
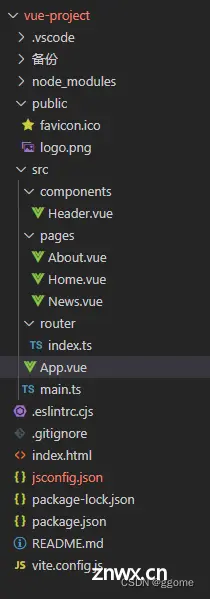
Header 组件是一般组件一般放到components文件夹中
News About Home 组件是路由组件,一般存放在pages或views文件夹中
/*注意
1、路由逐渐通常存放在pages或views文件夹,一般组件通常存放在components文件夹中
2、通过点击路由链接,切换路由组件,视觉上‘消失’了的路由组件,默认是被 卸载 掉的,需要的时候再去挂载
3、路由组件切换时,会触发组件的beforeRouteEnter、beforeRouteUpdate、>beforeRouteLeave钩子函数
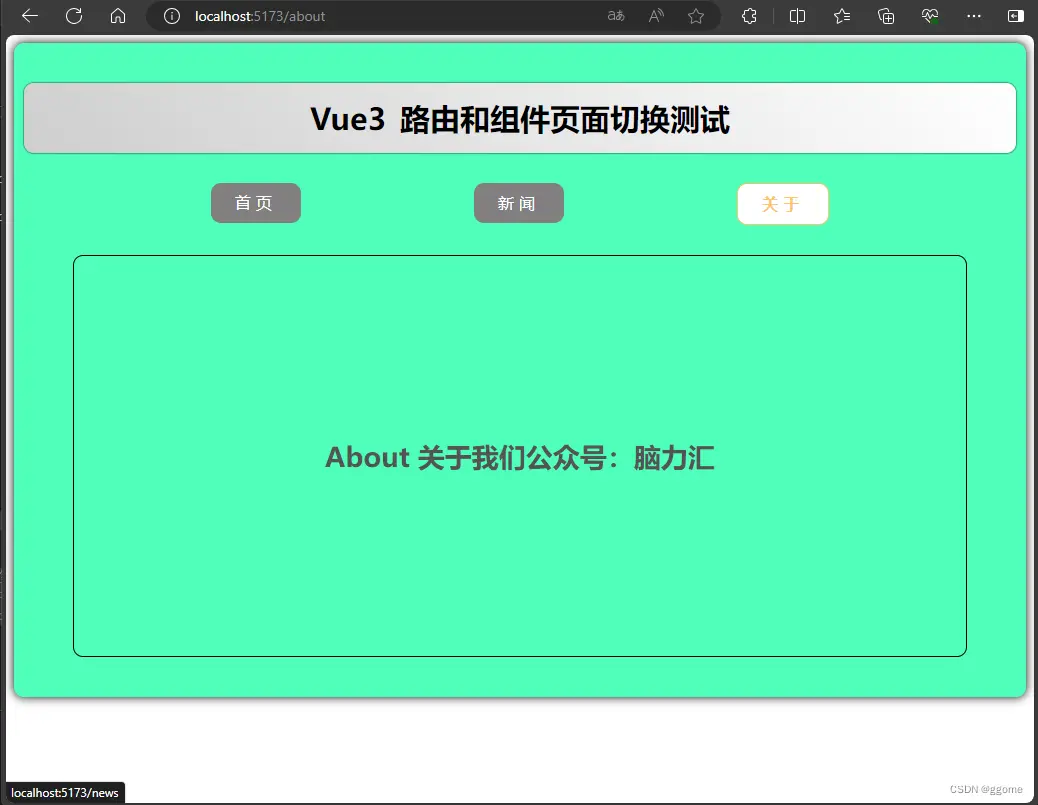
实例截图
目录结构
代码
app.vue
<template>
<div class="app">
<Header></Header>
<!-- 导航区 -->
<div class="navigate">
<RouterLink to="/home" active-class="active"> 首页 </RouterLink>
<!-- <RouterLink to="/news" active-class="active"> 新闻 </RouterLink> -->
<!-- to的对象写法 -->
<!-- 名称跳转 -->
<RouterLink :to="{name:'xinwen'}" active-class="active"> 新闻 </RouterLink>
<!-- 路径跳转 -->
<RouterLink :to="{path:'/about'}" active-class="active"> 关于 </RouterLink>
</div>
<!-- 展示区 -->
<div class="main-content">
<RouterView />
</div>
</div>
</template>
<script lang="ts" setup name="App">
// npm install vue-router //安装路由器
import { RouterView } from 'vue-router';
import Header from '@/components/Header.vue';
// Header 组件是一般组件一般放到components文件夹中
// News About Home 组件是路由组件,一般存放在pages或views文件夹中
/*注意
1、路由逐渐通常存放在pages或views文件夹,一般组件通常存放在components文件夹中
2、通过点击路由链接,切换路由组件,视觉上‘消失’了的路由组件,默认是被 卸载 掉的,需要的时候再去挂载
3、路由组件切换时,会触发组件的beforeRouteEnter、beforeRouteUpdate、beforeRouteLeave钩子函数
*/
</script>
<style scoped>
.app {
background-color: #4fffbb;
box-shadow: 0 0 10px;
border-radius: 10px;
padding: 10px;
}
.navigate {
display: flex;
justify-content: space-around;
margin: 0 100px;
}
.navigate a {
display: block;
text-align: center;
width: 90px;
height: 40px;
line-height: 40px;
border-radius: 10px;
background-color: #818080;
text-decoration: none;
color: #fff;
/* font-size: 5px; */
letter-spacing: 5px;
}
.navigate a.active {
color: #ffc268;
background-color: #fff;
border: 1px solid #ffc268;
font-weight: 900;
/* text-shadow: 0 0 1px black; */
font-family: 微软雅黑;
}
.main-content {
margin: 0 auto;
margin-top: 30px;
margin-bottom: 30px;
border-radius: 10px;
width: 90%;
height:400px;
border: 1px solid;
}
</style>
Header.vue
<template>
<h2 class="title">Vue3 路由和组件页面切换测试</h2>
</template>
<script setup lang="ts" name="Header">
</script>
<style scoped>
.title{
text-align: center;
word-spacing: 5px;
margin: 30px 0;
height: 70px;
line-height: 70px;
background-image: linear-gradient(45deg, #cecece, #fff);
border-radius: 10px;
box-shadow: 0 0 2px;
font-size: 30px
}
</style>
index.ts
// 创建一个路由器,并暴漏出去
// 第一步:引入createRouter
import { createRouter, createWebHashHistory, createWebHistory } from 'vue-router'
// 引入各种组件
import Home from '@/pages/Home.vue'
import About from '@/pages/About.vue'
import News from '@/pages/News.vue'
// 第二步:创建路由器
const router = createRouter({
// 配置路由模式
// createWebHistory history模式:url不带#号,需要后端做url适配 适合销售项目 利于seo
// createWebHashHistory Hash模式:url 带#号,不需要url适配,比较适合后端项目 不利于seo
history: createWebHistory(),
// 配置路由规则
routes: [
// { path: '/', redirect: '/home' },
// { path: '/home', component: Home },
// { path: '/about', component: About },
// { path: '/news', component: News }
// 路由命名
{ path: '/', redirect: '/home' },
{ path: '/home', name: 'zhuye', component: Home },
{ path: '/about', name: 'guanyu', component: About },
{ path: '/news', name: 'xinwen', component: News }
]
})
// 第三步:导出路由器
export default router
home.vue
<template>
<div class="home">
<img src="/public/logo.png" alt="">
</div>
</template>
<script setup lang="ts" name="Home">
</script>
<style scoped>
.home {
display: flex;
justify-content: center;
align-items: center;
height: 100%;
}
img {
width: 10%;
}
</style>
上一篇: 本地构建编译Apache-Seatunnel2.3.5适配Web1.0.0运行实现Mysql-CDC示例
下一篇: WEB数据库管理总结(图片形式分析)
本文标签
Vue3【二十一】Vue 路由模式(createWebHashHistory /createWebHistory )和RouterLink写法
声明
本文内容仅代表作者观点,或转载于其他网站,本站不以此文作为商业用途
如有涉及侵权,请联系本站进行删除
转载本站原创文章,请注明来源及作者。