服务器部署—虚拟机安装nginx并部署web网页
沐阳gg 2024-07-09 09:33:04 阅读 85
该篇博客用于讲解Linux的Centos7发行版中如何通过Linux安装Nginx,然后将静态页面部署到Nginx中,通过浏览器访问。
非常适用于新手小白学习项目部署相关的知识。建议收藏!!!
需要大家提前准备好虚拟机和CentOS7操作系统。
目录
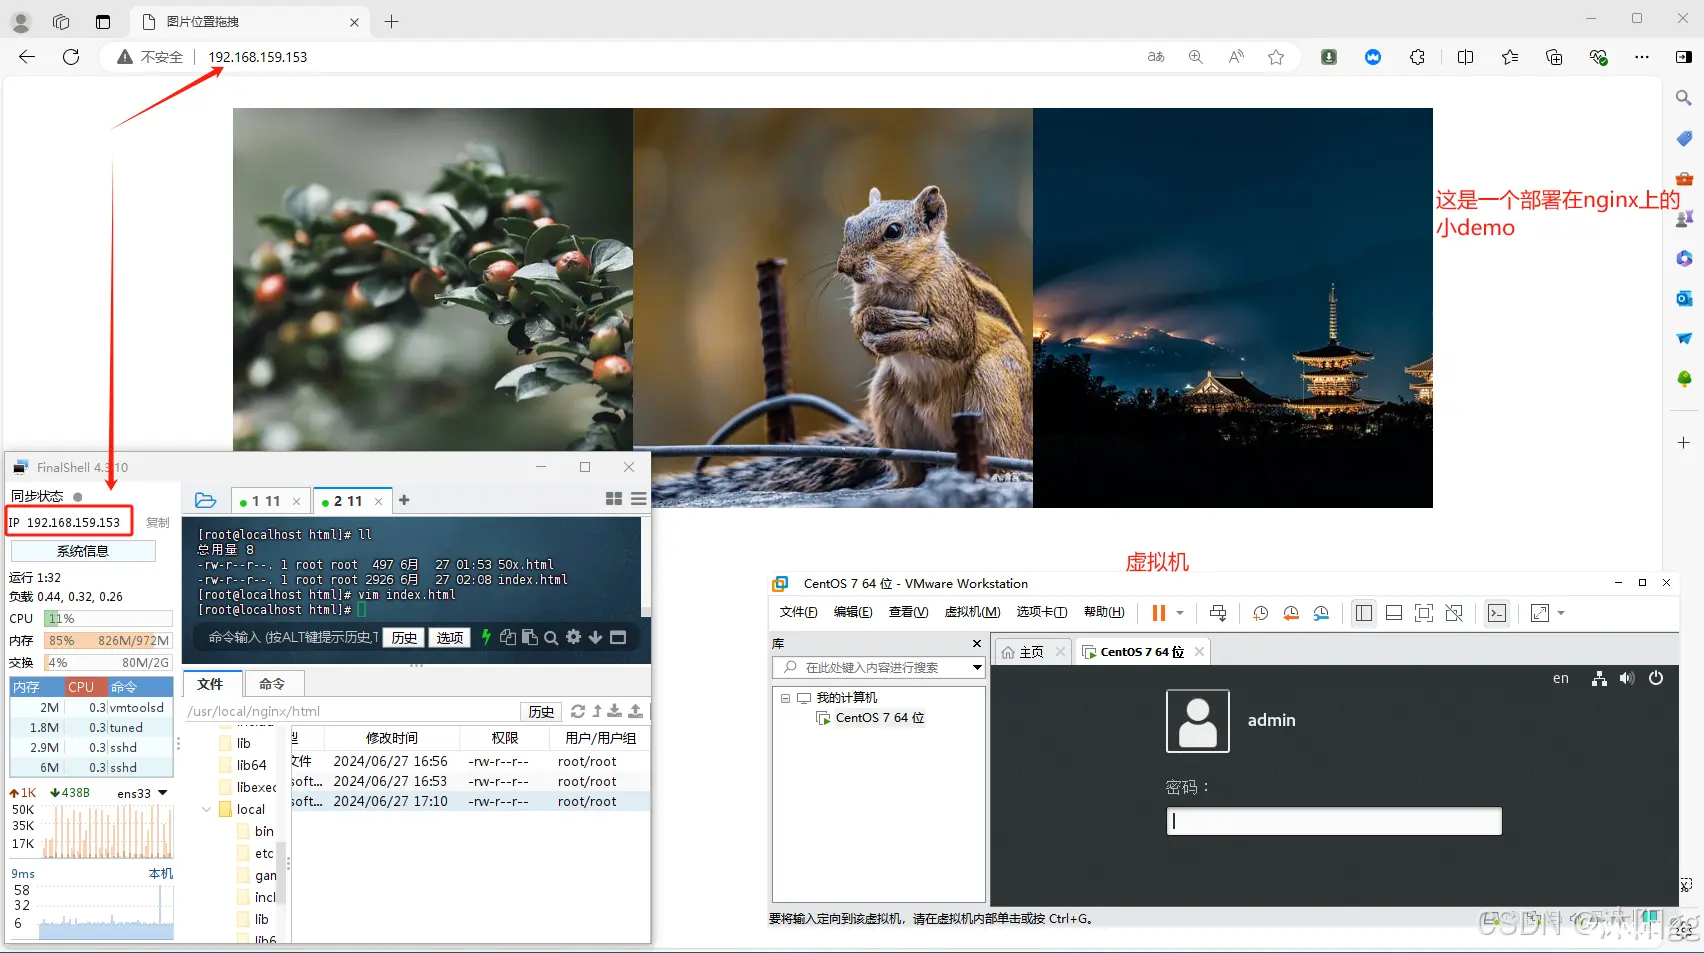
1、先上成品图
2、安装Nginx运行所需插件:
gcc:gcc编译器用于编译编程语言。
安装截图:
zlib解压软件:
安装截图:编辑
pcre、pcre-devel插件:
安装截图:编辑
openssl插件:
安装截图:编辑
3、安装Nginx
下载Nginx安装包:
通过命令ll查看本地会多一个文件:编辑
解压压缩包:
解压后,通过命令ll查看,得到一个文件夹:编辑
编译安装:
4、启动Nginx:
关闭防火墙,不然启动之后访问不了,关闭防火墙命令:
启动nginx(不要离开/usr/local/nginx/sbin/):
通过宿主机浏览器访问:
5、更改主页信息
找到nginx的index.html
将我前面准备好的一段代码,替换掉原本的代码:
再次在宿主机浏览器中搜索
到这里,我们自己的html页面就放进来了。
6、目录结构
1、先上成品图
2、安装Nginx运行所需插件:
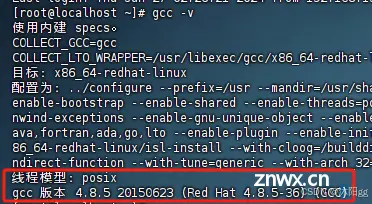
gcc:gcc编译器用于编译编程语言。
<code>//通过gcc -v查看版本,如果有就不管【CentOS7是有的】
gcc -v
//如果没有gcc就通过下面的命令安装
yum -y install gcc
安装截图:
zlib解压软件:
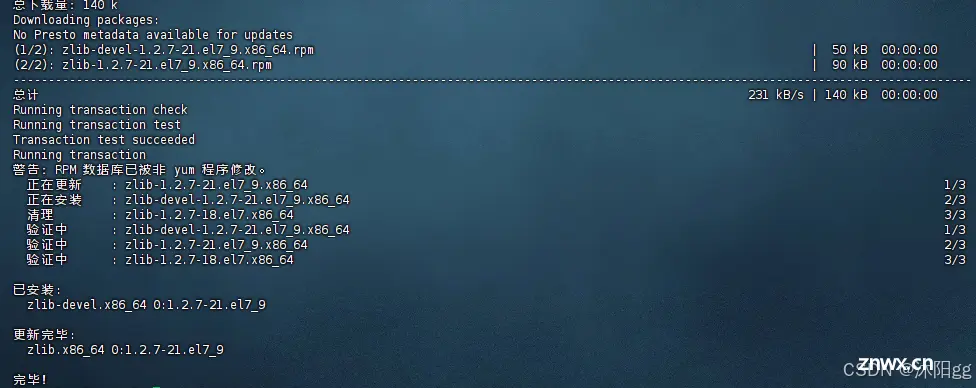
zlib库是用于解压和压缩的。nginx下载下来是压缩包,需要解压。
<code>安装命令:
yum install -y zlib zlib-devel
安装截图:
pcre、pcre-devel插件:
pcre是正则表达式的库,nginx中http模块需要用到pcre解析正则表达式。<code>安装命令:
yum install -y pcre pcre-devel
安装截图:

openssl插件:
网络通信加密插件。<code>安装命令:
yum install -y openssl openssl-devel
安装截图:

3、安装Nginx
从官网下载压缩包,需要用到wget软件,CentOS7都自带有,如果没有的话,通过下面命令安装。
<code>yum install wget
下载Nginx安装包:
wget http://nginx.org/download/nginx-1.21.6.tar.gz
通过命令ll查看本地会多一个文件:

解压压缩包:
<code>tar -zxvf nginx-1.21.6.tar.gz
解压后,通过命令ll查看,得到一个文件夹:

编译安装:
①、先进入到解压得到的nginx-1.21.6文件夹里面: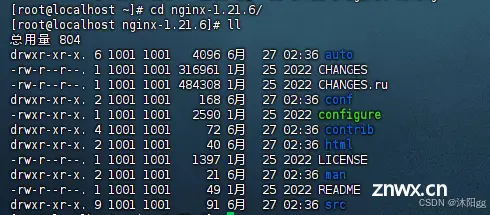
②、编译nginx环境,使其之后的nginx就安装到/usr/local/nginx目录下:
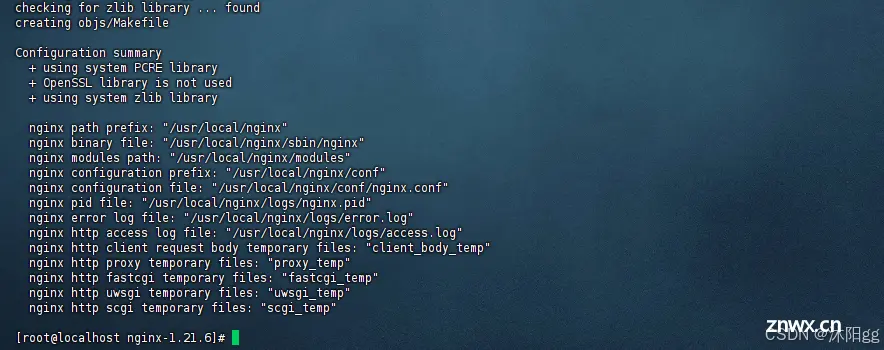
③、继续执行命令:
<code># 在当前目录下执行
make & make install
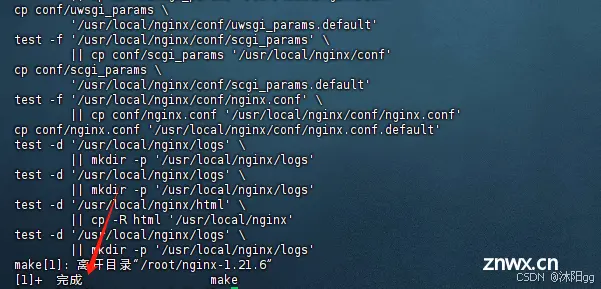
到这里,关于nginx已经安装好了,我们可以查看一下,多了些什么东西:

4、启动Nginx:
如果要启动Nginx,需要找到其启动命令,先进入到命令所在的文件夹:
<code>命令:
cd /usr/local/nginx/sbin/

nginx这个就是启动命令。
关闭防火墙,不然启动之后访问不了,关闭防火墙命令:
<code>systemctl stop firewalld.service
启动nginx(不要离开/usr/local/nginx/sbin/):
./nginx
通过宿主机浏览器访问:
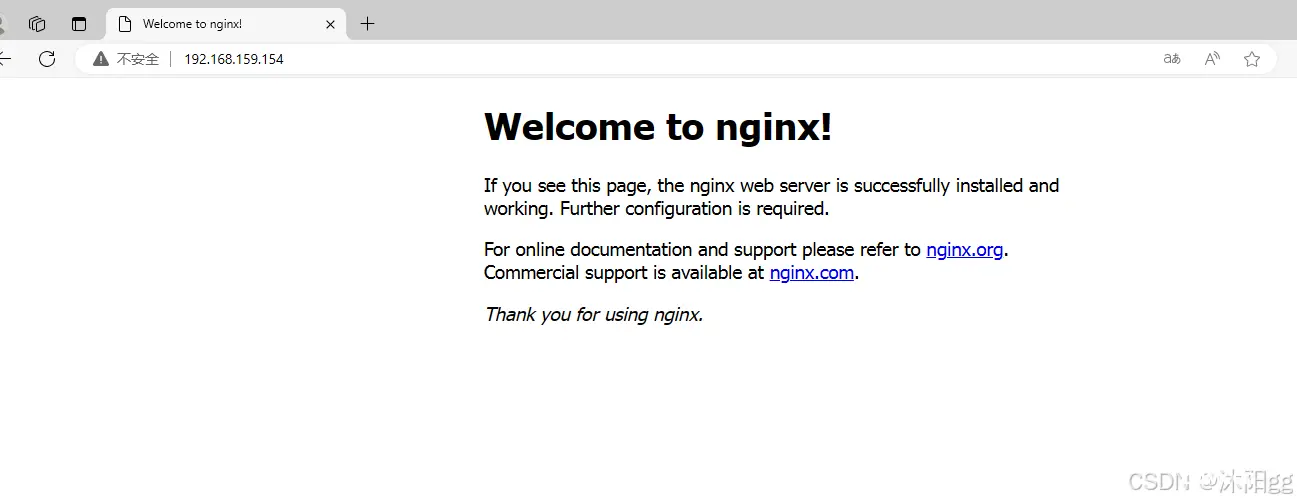
5、更改主页信息
到这里,nginx已经安装并且启动好了,那么接下来我们可以将这个页面更改一番,在这里我提供了一段html代码。
<code><!DOCTYPE html>
<html lang="en">code>
<head>
<meta charset="UTF-8">code>
<meta http-equiv="X-UA-Compatible" content="IE=edge">code>
<meta name="viewport" content="width=device-width, initial-scale=1.0">code>
<title>图片位置拖拽</title>
<style>
#main {
display: flex;
justify-content: center;
}
.img {
width: 100px;
user-select: none;
height: 100px;
background: no-repeat center center;
background-size: cover;
}
.bg1 {
background-image: url('https://cdn.pixabay.com/photo/2020/02/05/22/01/bush-4822500__480.jpg')
}
.bg2 {
background-image: url('https://cdn.pixabay.com/photo/2022/01/24/13/51/temple-6963458__480.jpg')
}
.bg3 {
background-image: url('https://cdn.pixabay.com/photo/2020/12/02/01/06/chipmunk-5795916__480.jpg')
}
.zw {
background-color: #999;
width: 100px;
height: 100px;
display: none;
}
</style>
</head>
<body>
<div id="main">code>
<span class="img bg1" data-index="0"></span>code>
<span class="img bg2" data-index="1"></span>code>
<span class="img bg3" data-index="2"></span>code>
<span class="zw"></span>code>
</div>
</body>
<script>
const imgs = document.querySelectorAll('.img')
const main = document.querySelector('#main')
const zw = document.querySelector('.zw')
const isMobile = navigator.userAgent.match(/Mobile/)
let isDrag = false
let index
let py = {
left: 0,
top: 0
}
const move = (el, x, y) => {
el.setAttribute('style', `pointer-events:none;position:absolute;left:${x}px;top:${y}px`)
}
document.addEventListener(isMobile ? 'touchstart' : 'mousedown', e => {
isMobile && (e = e.touches[0])
index = e.target.dataset.index
if (index && !isDrag) {
py.left = e.pageX - imgs[index].offsetLeft
py.top = e.pageY - imgs[index].offsetTop
zw.style.display = 'block'
main.insertBefore(zw, imgs[index])
move(imgs[index], e.pageX - py.left, e.pageY - py.top)
}
isDrag = true
})
document.addEventListener(isMobile ? 'touchmove' : 'mousemove', e => {
isMobile && (e = e.touches[0])
if (isDrag && index) {
move(imgs[index], e.pageX - py.left, e.pageY - py.top)
}
})
document.addEventListener(isMobile ? 'touchend' : 'mouseup', e => {
isDrag = false
zw.style.display = ''
if (imgs[index]) {
imgs[index].setAttribute('style', '')
main.insertBefore(imgs[index], zw)
}
})
imgs.forEach(v => {
v.addEventListener(isMobile ? 'touchmove' : 'mouseenter', e => {
isMobile && (e = e.touches[0])
if (isDrag) {
const list = [...main.children]
const imgIndex = list.findIndex(el => v == el)
const zwIndex = list.findIndex(el => zw == el)
if (zwIndex < imgIndex) {
main.insertBefore(v, zw)
} else {
main.insertBefore(zw, v)
}
}
})
})
</script>
</html>
找到nginx的index.html
页面在:/usr/local/nginx/html/这个文件夹里面cd /usr/local/nginx/html/

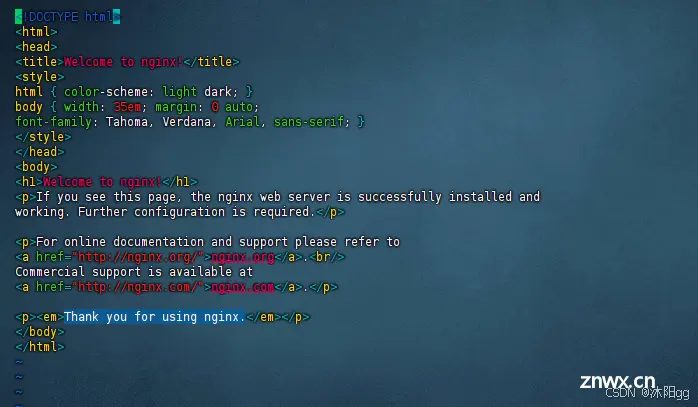
将我前面准备好的一段代码,替换掉原本的代码:
<code>自己操作,删除,再粘贴
再次在宿主机浏览器中搜索
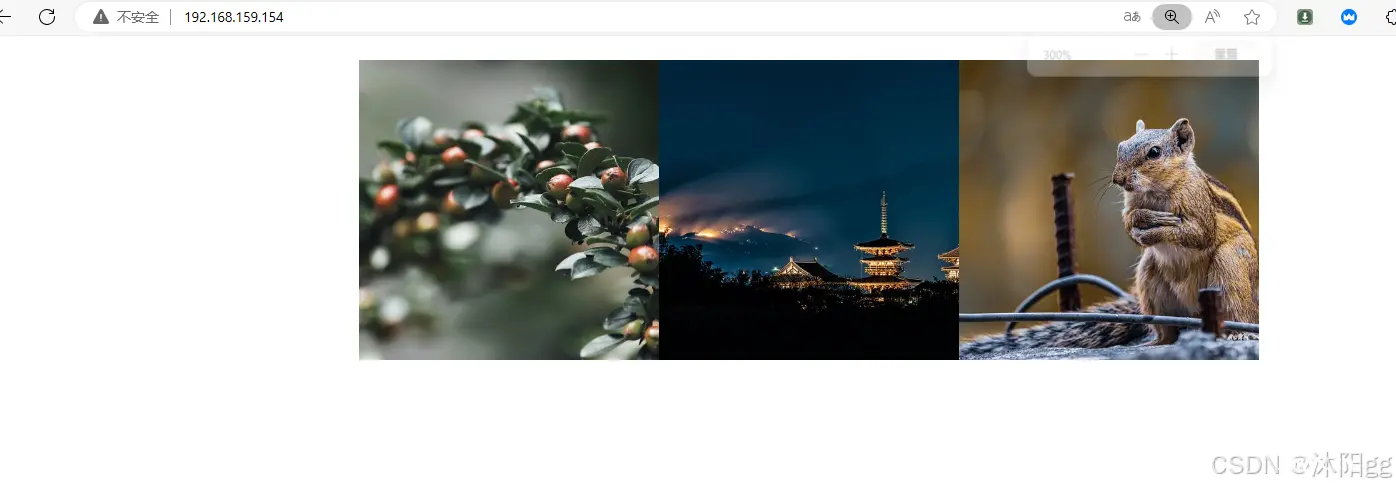
到这里,我们自己的html页面就放进来了。
6、目录结构
nginx安装完成后,nginx里面的目录结构如下:
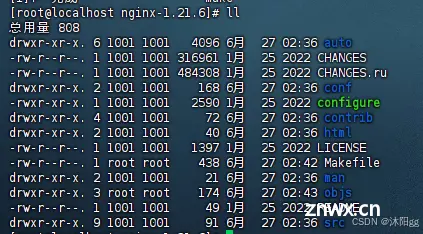
重点目录和文件如下:
| 目录/文件 | 说明 |
| conf | 配置文件存放目录 |
| conf/nginx.conf | nginx核心配置文件 |
| html | 存放静态资源(html,css,js) |
| logs | 存放nginx日志 |
| sbin/nginx | 二进制文件,用于启动/停止Nginx |
nginx更多知识还需要更系统的学习,目前这个小demo就到这里了,bye~~~
上一篇: CGCS2000转GCJ02到前端高德地图显示 包括 WGS84的MultiLineString批量转为GCJ02 以及批量geojson文件转换
下一篇: 前端用a标签实现静态资源文件(excel/word/pdf)下载
本文标签
声明
本文内容仅代表作者观点,或转载于其他网站,本站不以此文作为商业用途
如有涉及侵权,请联系本站进行删除
转载本站原创文章,请注明来源及作者。