构建基于 Feign 的微服务:从 Eureka 到负载均衡的实践 --day05
CSDN 2024-09-17 14:07:02 阅读 83
目录
步骤1:创建父工程feign-1步骤2:改造服务提供者使用 `@RequestMapping`使用 `@GetMapping`
步骤3:改造服务消费者为Feign客户端(1)添加Feign依赖(2)添加@EnableFeignClients注解(3)实现Feign Client
创建FeignController类,调用sayHello()方法步骤4:测试运行
参数绑定步骤1:改造服务提供者eureka-provider步骤2:改造含有Feign的eureka-consumer(1)在FeignService类中增加绑定参数的方法(2)在FeignController类中调用FeignService中的方法
步骤3:测试运行
总结
Feign,由Netflix打造的声明式HTTP客户端,提供了一种简便的方式来进行服务调用。
结合Eureka和Ribbon,Feign不仅具备了服务发现的机制,还实现了负载均衡功能。
通过Feign,开发者仅需定义接口并利用注解配置,便可轻松实现对服务接口的绑定。
这极大地简化了使用Ribbon封装服务调用的过程。
因此,Feign可被视为Spring Cloud中的一种框架工具,旨在减少编码量,同时提升与远程服务的兼容性和交互效率。
第一个Feign程序
步骤:
1.搭建Eureka Server
2.创建服务提供者
3.创建Feign客户端
4.测试运行
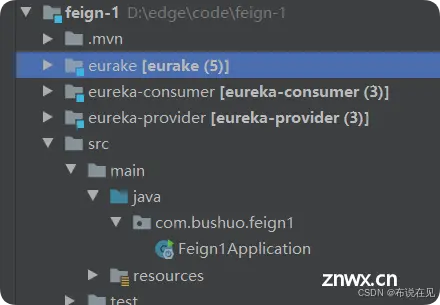
步骤1:创建父工程feign-1
将搭建的Eureka基本应用中的3个子项目都复制到feign-1父工程中,并依次添加为Maven项目。

步骤2:改造服务提供者
在服务提供者eureka-provider中创建controller包,并在该包下创建HelloController类,该类定义了一个sayHello ()方法,用于处理路径为/hello的请求。
HelloController类的内容如下:
<code>@RestController
public class HelloController {
@RequestMapping(value = "/hello",method = RequestMethod.GET)
public String say(){
return "feign!";
}
}
在Spring Framework中,@GetMapping实际上是@RequestMapping的一个专门化子注解,主要用于处理HTTP的GET请求。
这一注解是在Spring Framework的4.3版本中引入的,目的在于提升代码的语义清晰度和可读性。
接下来,我们来对比一下这两个注解的使用:
使用 @RequestMapping
@RequestMapping(value = "/hello", method = RequestMethod.GET)
public String say() {
return "feign!";
}
这里,@RequestMapping 注解指定了 URL 路径 /hello 并且限定了只有 GET 请求才会触发此方法。
使用 @GetMapping
@GetMapping("/hello")
public String say() {
return "feign!";
}
@GetMapping作为@RequestMapping针对GET请求的特定版本,它默认只处理GET请求,因此无需显式设置method属性。
这样不仅使代码更加简洁,也使得其意图更为明显和直接。
两者在功能上是等价的,但是 @GetMapping 提供了更好的语义表达力。
步骤3:改造服务消费者为Feign客户端
(1)添加Feign依赖
在eureka-consumer项目的pom文件中,我们需要添加Feign依赖。
<dependency>
<groupId>org.springframework.cloud</groupId>
<artifactId>spring-cloud-starter-openfeign</artifactId>
</dependency>
添加后重新加载pom文件。
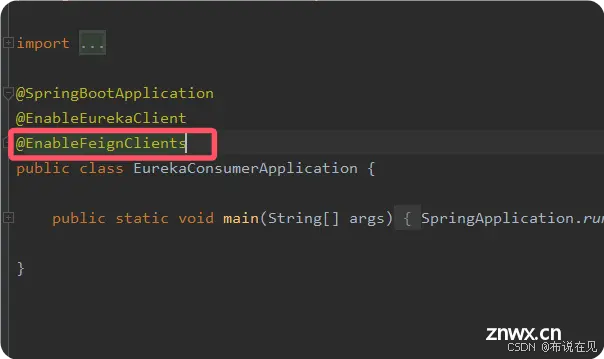
(2)添加@EnableFeignClients注解
在EurekaConsumerApplication类中,通过加入@EnableFeignClients注解来激活Feign Client功能。
(3)实现Feign Client
在eureka-consumer项目中,首先建立名为service的包。
在这个新创建的包内,定义一个接口命名为FeignService。
接着,通过在该接口上应用@FeignClient注解,明确指出我们打算调用的服务端点。

创建FeignController类,调用sayHello()方法
在eureka-consumer工程中,我们需要建立一个名为controller的包。
在这个包内部,进一步创建一个FeignController类。
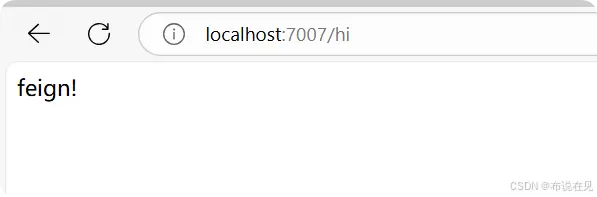
该类的hello()方法被设计用于触发FeignService中的sayHello()方法。
步骤4:测试运行
依次启动eureka-server、eureka-provider和eureka-consumer。启动成功后,使用浏览器访问http://localhost,观察页面结果。说明通过Feign调用成功。
参数绑定
在基于首个Feign程序的升级版中,我们采用了Eureka-Feign-Client来实现对Eureka-Provider接口的调用。
与以往不同的是,此次在调用Eureka-Provider接口时需传递一个不同类型的参数。
步骤:
1.改造服务提供者eureka-provider
2.改造含有Feign的eureka-consumer
3.测试运行
步骤1:改造服务提供者eureka-provider
修改HelloController
在HelloController中新增2个不同类型参数的方法。
<code>package com.bushuo.eurekaprovider.controller;
import org.springframework.web.bind.annotation.*;
import java.util.Map;
@RestController
public class HelloController {
@RequestMapping(value = "/hello",method = RequestMethod.GET)
public String say(){
return "feign!";
}
@RequestMapping(value = "hello1", method = RequestMethod.GET)
public String say(@RequestParam String name) {
return "Hello : " +name;
}
@RequestMapping(value = "/hello2",method = RequestMethod.POST)
public String say(@RequestBody Map userMap ){
String userName = (String)userMap.get( "userName" );
String password=(String) userMap.get( "password" );
return "hello : " + userName +",your password is"+password;
}
}
注意事项
如果你想从请求头中获取值,应该使用 @RequestHeader 注解。如果你正在处理 GET 请求,并且需要传递复杂的对象,也可以考虑使用 MultiValueMap 或者自定义的 DTO 类来封装请求参数。
步骤2:改造含有Feign的eureka-consumer
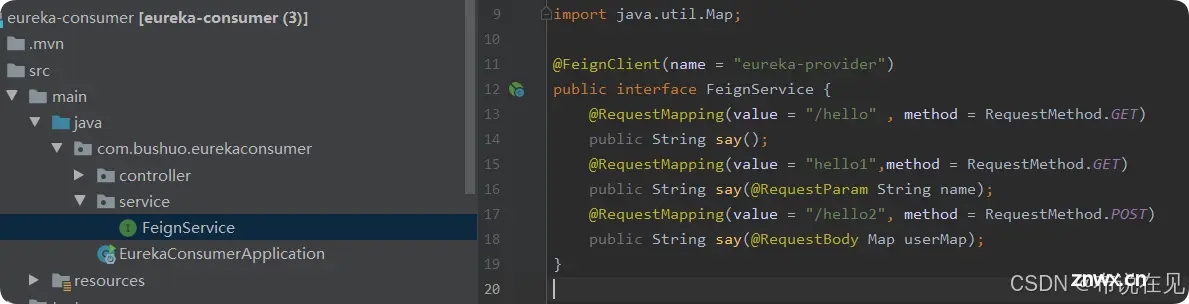
(1)在FeignService类中增加绑定参数的方法
在FeignService类中增加2个绑定不同参数类型的方法。
<code>@FeignClient(name = "eureka-provider")
public interface FeignService {
@RequestMapping(value = "/hello" , method = RequestMethod.GET)
public String say();
@RequestMapping(value = "hello1",method = RequestMethod.GET)
public String say(@RequestParam String name);
@RequestMapping(value = "/hello2", method = RequestMethod.POST)
public String say(@RequestBody Map userMap);
}
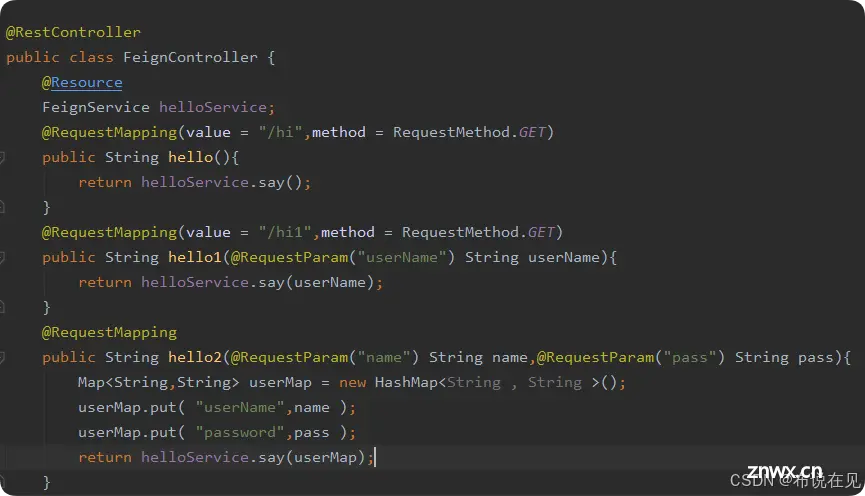
(2)在FeignController类中调用FeignService中的方法
在FeignController类中,我们新增了两个方法。
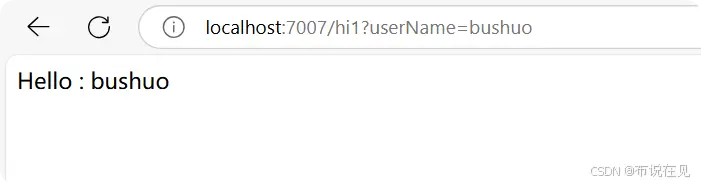
第一个方法是hello1,它处理指向“/hi1”的请求,通过调用FeignService中的say()函数实现,该函数接收一个名为name的@RequestParam类型参数。
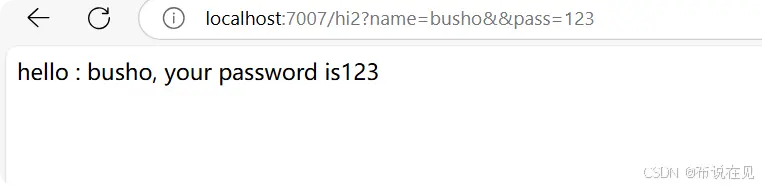
第二个方法是hello2,用于处理“/hi2”路径下的请求,它也依赖于FeignService的say()函数,但这次接收的是@RequestBody类型的Map对象作为userMap参数。

<code>@RestController
public class FeignController {
@Resource
FeignService helloService;
@RequestMapping(value = "/hi",method = RequestMethod.GET)
public String hello(){
return helloService.say();
}
@RequestMapping(value = "/hi1",method = RequestMethod.GET)
public String hello1(@RequestParam("userName") String userName ){
return helloService.say(userName);
}
@RequestMapping
public String hello2(@RequestParam("name") String name,@RequestParam("pass") String pass ){
Map<String,String> userMap = new HashMap<String , String >();
userMap.put( "userName",name );
userMap.put( "password",pass );
return helloService.say(userMap);
}
}
步骤3:测试运行
依次启动eureka-server、eureka-provider和eureka-consumer。启动成功后,
hello1方法的请求路径为:
http://localhost:7007/hi1?userName=bushuo
同理:hello2方法的访问路径为:
http://localhost:7007/hi2?name=busho&&pass=123

总结
通过上述步骤,成功地创建了一个使用 Feign 实现的服务消费者,它能够调用服务提供者的接口,并且能够处理不同类型的参数(如查询字符串参数和请求体中的复杂对象)。这样的设置不仅简化了服务间调用的代码量,同时也提高了代码的可读性和维护性。
下一篇: 【Linux】调试和Git及进度条实现
本文标签
声明
本文内容仅代表作者观点,或转载于其他网站,本站不以此文作为商业用途
如有涉及侵权,请联系本站进行删除
转载本站原创文章,请注明来源及作者。