Nginx HTTPS(证书) 部署实战
ZZDICT 2024-09-19 14:37:04 阅读 78
目录
一、申请证书与认证
1、准备域名
2、 准备云服务器
3、 准备SSL证书
二、证书下载与配置
1、准备Nginx服务
2、证书下载
3、证书配置
4、重启nginx
5、windows本地配置域名解析
三、访问域名测试
一、申请证书与认证
要搭建https服务首先需有SSL证书,证书通常是在第三方申请,在阿~云的安全服务中有SSL证书这一项,可以在里面申请免费的证书。也可以在自己电脑中生成,虽然也能完成加密,但是浏览器是不认可的,因此最好还是去第三方申请。
1、准备域名
域名注册_域名查询_域名申请_域名购买_域名续费_国际域名-万网-阿里云品牌
阿里域名网站购买一个便宜的一年期限的域名使用即可。
2、 准备云服务器
云服务器ECS_云主机_服务器托管_计算-阿里云
本次实验是领取试用的Centos7服务器。
然后做DNS解析添加对应记录
3、 准备SSL证书
https://yundunnext.console.aliyun.com/?spm=5176.21213303.J_qCOwPWspKEuWcmp8qiZNQ.67.56bc2f3dNSBeOs&p=cas&accounttraceid=54d668fd6d644539a55fe13f8352d648lwea#/overview
申请个人测试使用的证书。

二、证书下载与配置
1、准备Nginx服务
在云服务器中下载一个Nginx的web服务用来测试
启动并设置开机自启
systemctl enable --now nginx
浏览器输入ECS云服务器公网IP
查看是否正常打开网页访问
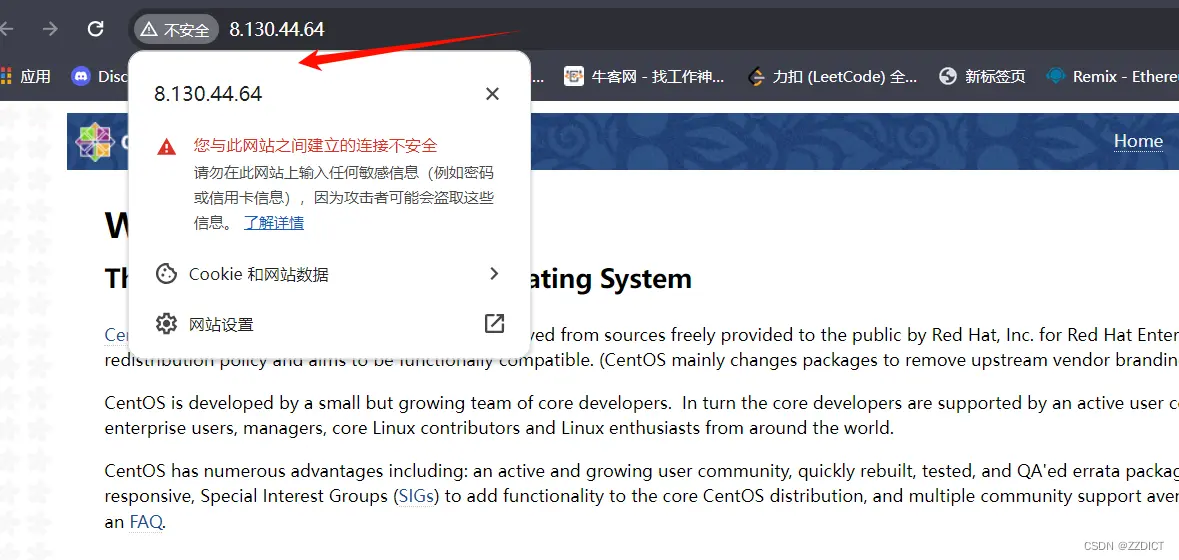

还没有配置证书,这里显示的就是不安全的。
2、证书下载

下载配置文件之后,需要将其解压,解压之后可以看见里面包含了两个证书文件
接着需要把这两个证书文件给复制到服务器当中去,首先需要在服务器创建对应的文件夹,参考命令如下
<code>cd /etc/nginx/ && mkdir cert
在服务器创建完成对应文件夹之后,将证书文件复制到服务器中
[root@aliyun nginx]# cd /etc/nginx/cert/
[root@aliyun cert]# yum install -y unzip
[root@aliyun cert]# ll
total 8
-rw-r--r-- 1 root root 4126 Jun 21 19:28 13759957_www.luzhengzheng.icu_nginx.zip
[root@aliyun cert]# unzip 13759957_www.luzhengzheng.icu_nginx.zip
Archive: 13759957_www.luzhengzheng.icu_nginx.zip
Aliyun Certificate Download
inflating: www.luzhengzheng.icu.pem
inflating: www.luzhengzheng.icu.key
[root@aliyun cert]# ll
total 16
-rw-r--r-- 1 root root 4126 Jun 21 19:28 13759957_www.luzhengzheng.icu_nginx.zip
-rw-r--r-- 1 root root 1679 Jun 21 19:28 www.luzhengzheng.icu.key
-rw-r--r-- 1 root root 3846 Jun 21 19:28 www.luzhengzheng.icu.pem
3、证书配置
证书复制完成之后,可以对nginx配置文件进行更改,使用vi或vim命令编辑nginx配置文件,参考命令如下:
[root@aliyun ~]# cd /etc/nginx/
#备份
[root@aliyun nginx]# cp nginx.conf nginx.conf.bak
vim /etc/nginx/nginx.conf
该文件的完整代码便于复制:
# For more information on configuration, see:
# * Official English Documentation: http://nginx.org/en/docs/
# * Official Russian Documentation: http://nginx.org/ru/docs/
user nginx;
worker_processes auto;
error_log /var/log/nginx/error.log;
pid /run/nginx.pid;
# Load dynamic modules. See /usr/share/doc/nginx/README.dynamic.
include /usr/share/nginx/modules/*.conf;
events {
worker_connections 1024;
}
http {
log_format main '$remote_addr - $remote_user [$time_local] "$request" '
'$status $body_bytes_sent "$http_referer" '
'"$http_user_agent" "$http_x_forwarded_for"';
access_log /var/log/nginx/access.log main;
sendfile on;
tcp_nopush on;
tcp_nodelay on;
keepalive_timeout 65;
types_hash_max_size 4096;
include /etc/nginx/mime.types;
default_type application/octet-stream;
# Load modular configuration files from the /etc/nginx/conf.d directory.
# See http://nginx.org/en/docs/ngx_core_module.html#include
# for more information.
include /etc/nginx/conf.d/*.conf;
server {
listen 80;
listen [::]:80;
server_name www.luzhengzheng.icu;
root /usr/share/nginx/html;
return 301 https://$host$request_uri;
# Load configuration files for the default server block.
include /etc/nginx/default.d/*.conf;
error_page 404 /404.html;
location = /404.html {
}
error_page 500 502 503 504 /50x.html;
location = /50x.html {
}
}
server {
listen 443 ssl;
server_name www.luzhengzheng.icu;
access_log /var/log/nginx/https_access.log main;
# 配置 SSL 证书和密钥文件
ssl_certificate /etc/nginx/cert/www.luzhengzheng.icu.pem;
ssl_certificate_key /etc/nginx/cert/www.luzhengzheng.icu.key;
# 设置 SSL 会话的超时时间
ssl_session_timeout 5m;
# 启用的 SSL 协议版本
ssl_protocols TLSv1 TLSv1.1 TLSv1.2;
# 配置 SSL 加密套件
ssl_ciphers ALL:!ADH:!EXPORT56:RC4+RSA:+HIGH:+MEDIUM:+LOW:+SSLv2:+EXP;
ssl_prefer_server_ciphers on;
location / {
# 配置根目录
root /usr/share/nginx/html;
# 设置默认首页文件
index index.html index.htm;
}
}
}
下图是更改的部分供对照参考
4、重启nginx
修改配置文件之后,需要测试nginx配置文件是否正确
<code>[root@aliyun nginx]# nginx -t
nginx: the configuration file /etc/nginx/nginx.conf syntax is ok
nginx: configuration file /etc/nginx/nginx.conf test is successful
[root@aliyun nginx]# nginx -s reload
5、windows本地配置域名解析
C:\Windows\System32\drivers\etc\hosts
需要用记事本的管理员身份打开编辑
添加上对应的公网IP 和 域名
8.130.44.64 www.luzhengzheng.icu
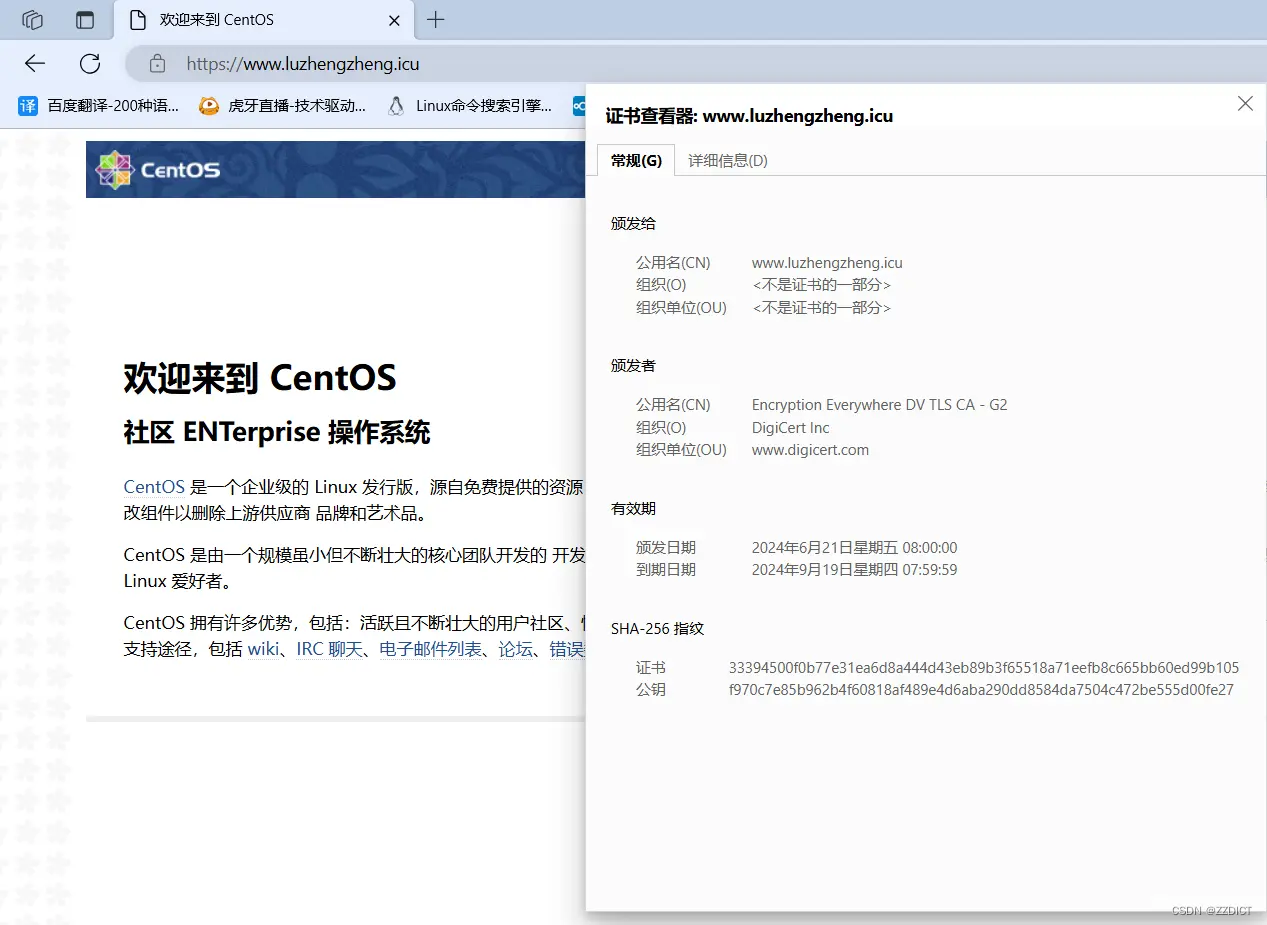
三、访问域名测试
打开浏览器输入域名访问


注意:
本实验试用阿~云cengos7系统,nginx版本为1.20.1 ,配置完成后,使用谷歌浏览器访问会出现失败,提示没有备案这时正常的,使用edge浏览器输入https://域名 这样去访问即可,因浏览器不同会些许造成差异。至于出现提示备案页面,和使用hhtp://域名无法访问的情况就是这个没有备案造成的,这个就不用管了,熟悉整个步骤即可,真正上线项目再备案。
声明
本文内容仅代表作者观点,或转载于其他网站,本站不以此文作为商业用途
如有涉及侵权,请联系本站进行删除
转载本站原创文章,请注明来源及作者。