C#调用百度AI人脸识别,实现人脸登录,人脸对比,人脸检测
imaginationboom 2024-07-16 15:01:07 阅读 90
硬件:带有摄像头的计算机。
软件:Windows10 操作系统。
网络:设备连接外网。
一,百度接口配置
人脸识别小程序的内部算法实现需借助百度接口,所以在启动小程序之前需要提前进行百度接口的相关配置工作。
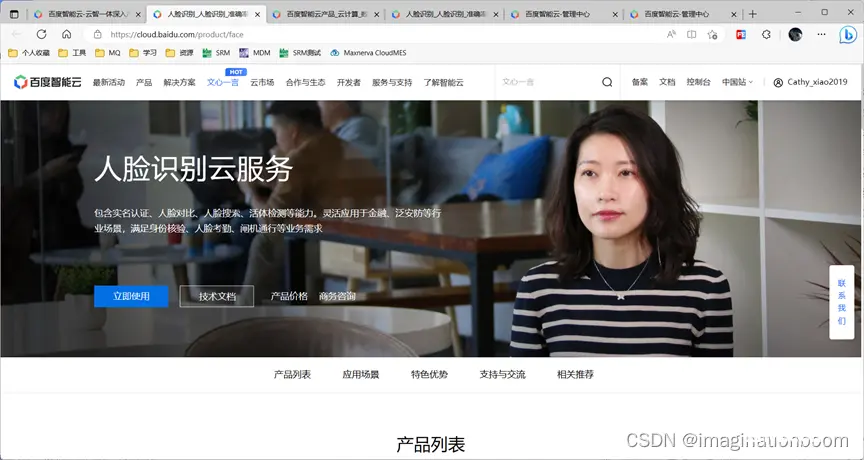
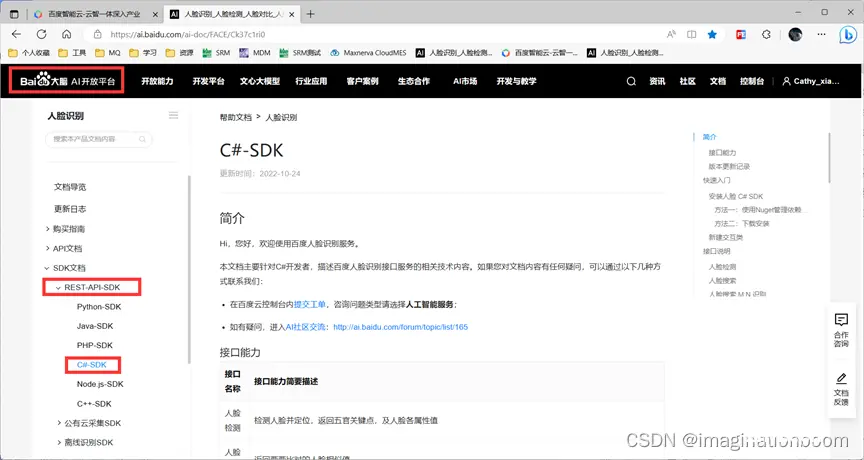
1打开百度智能云网址:
百度智能云-云智一体深入产业百度智能云致力于为企业和开发者提供全球领先的人工智能、大数据和云计算服务,加速产业智能化转型升级

https://cloud.baidu.com/注册登录,进入如下界面。

2点击立即使用
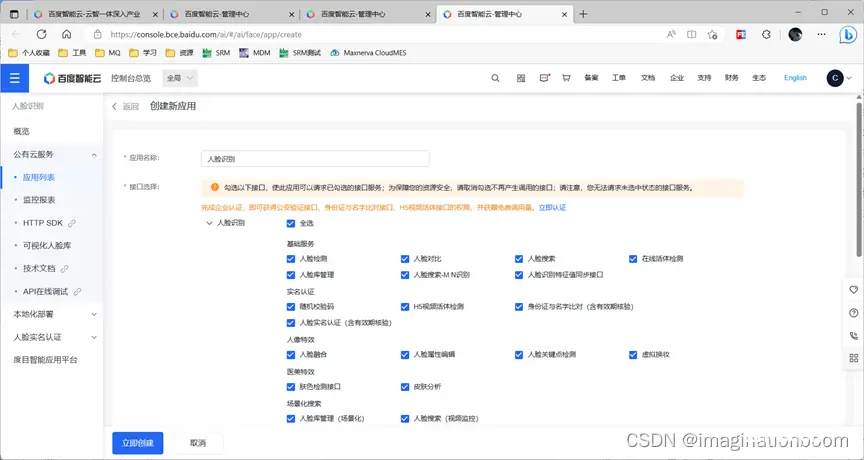
3点击创建应用
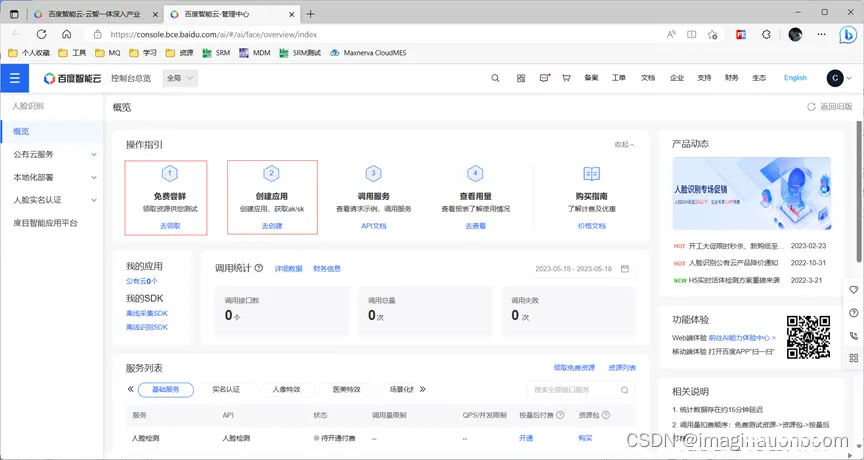

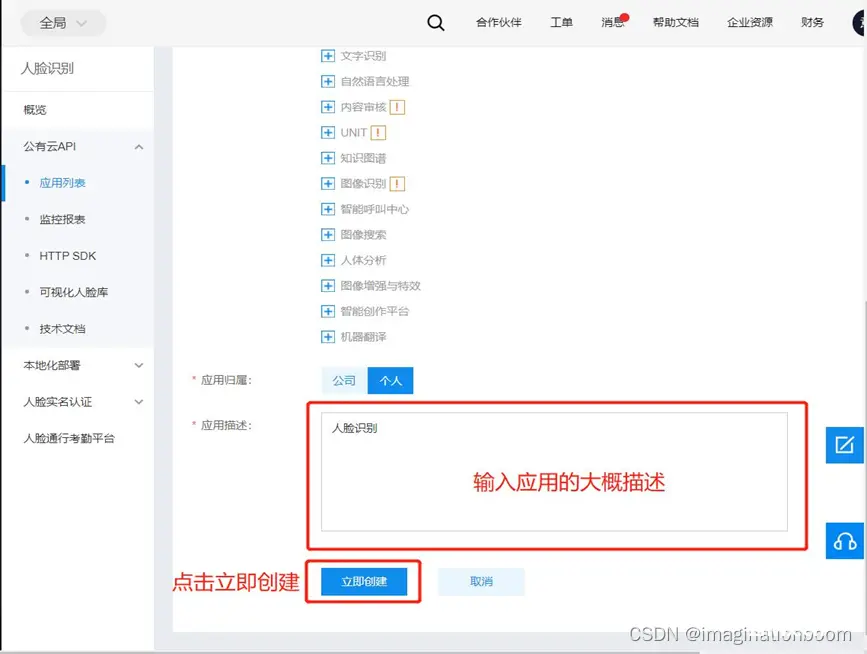
在应用名称一栏输入所建应用的名称,在应用描述一栏输入对所创建应用的大概描述,然后点击立即创建。
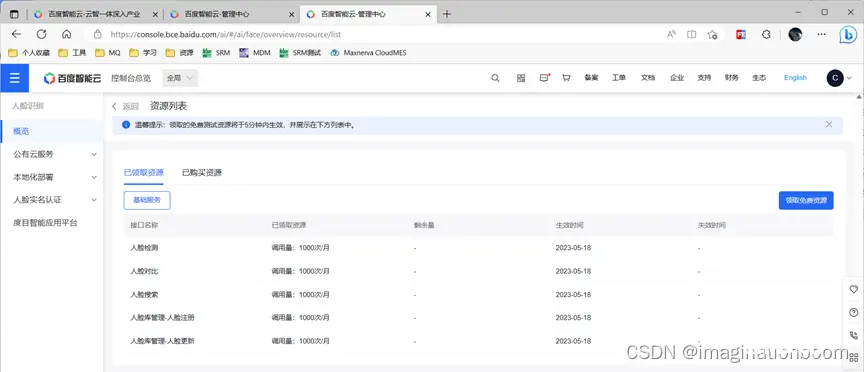
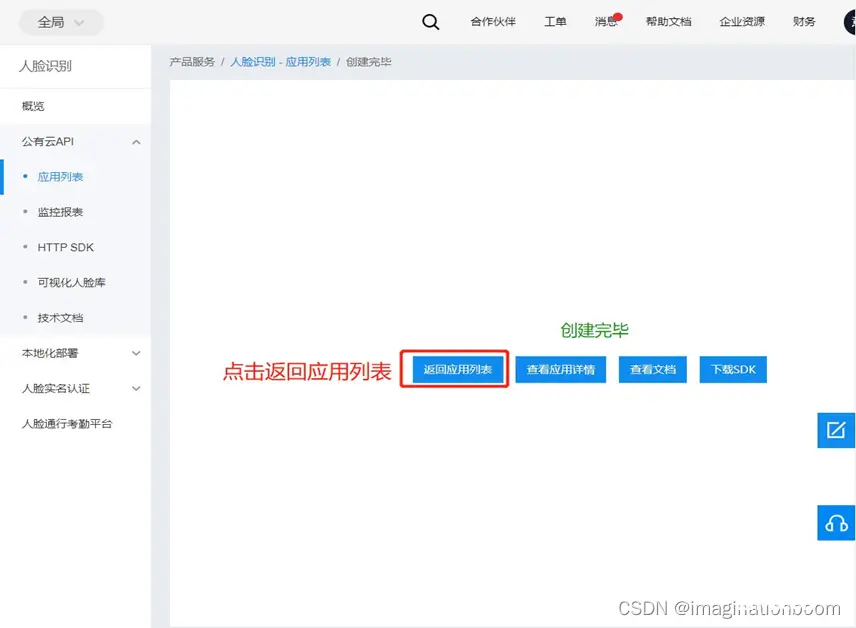
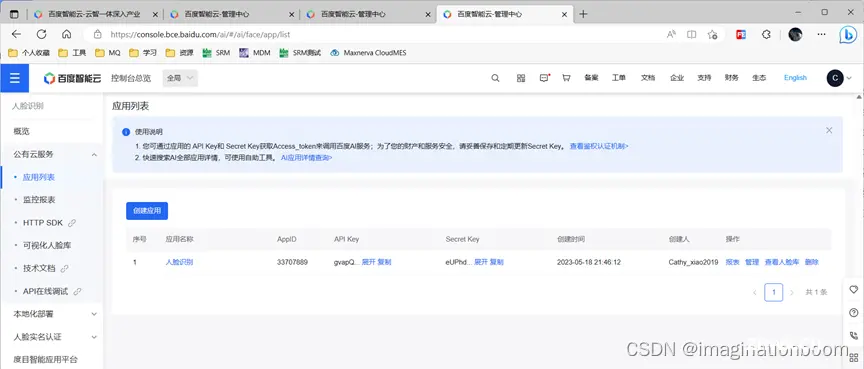
4点击返回应用列表
即可看到刚才创建应用的详细信息,并且可以看到获取到的API key和Secret key。
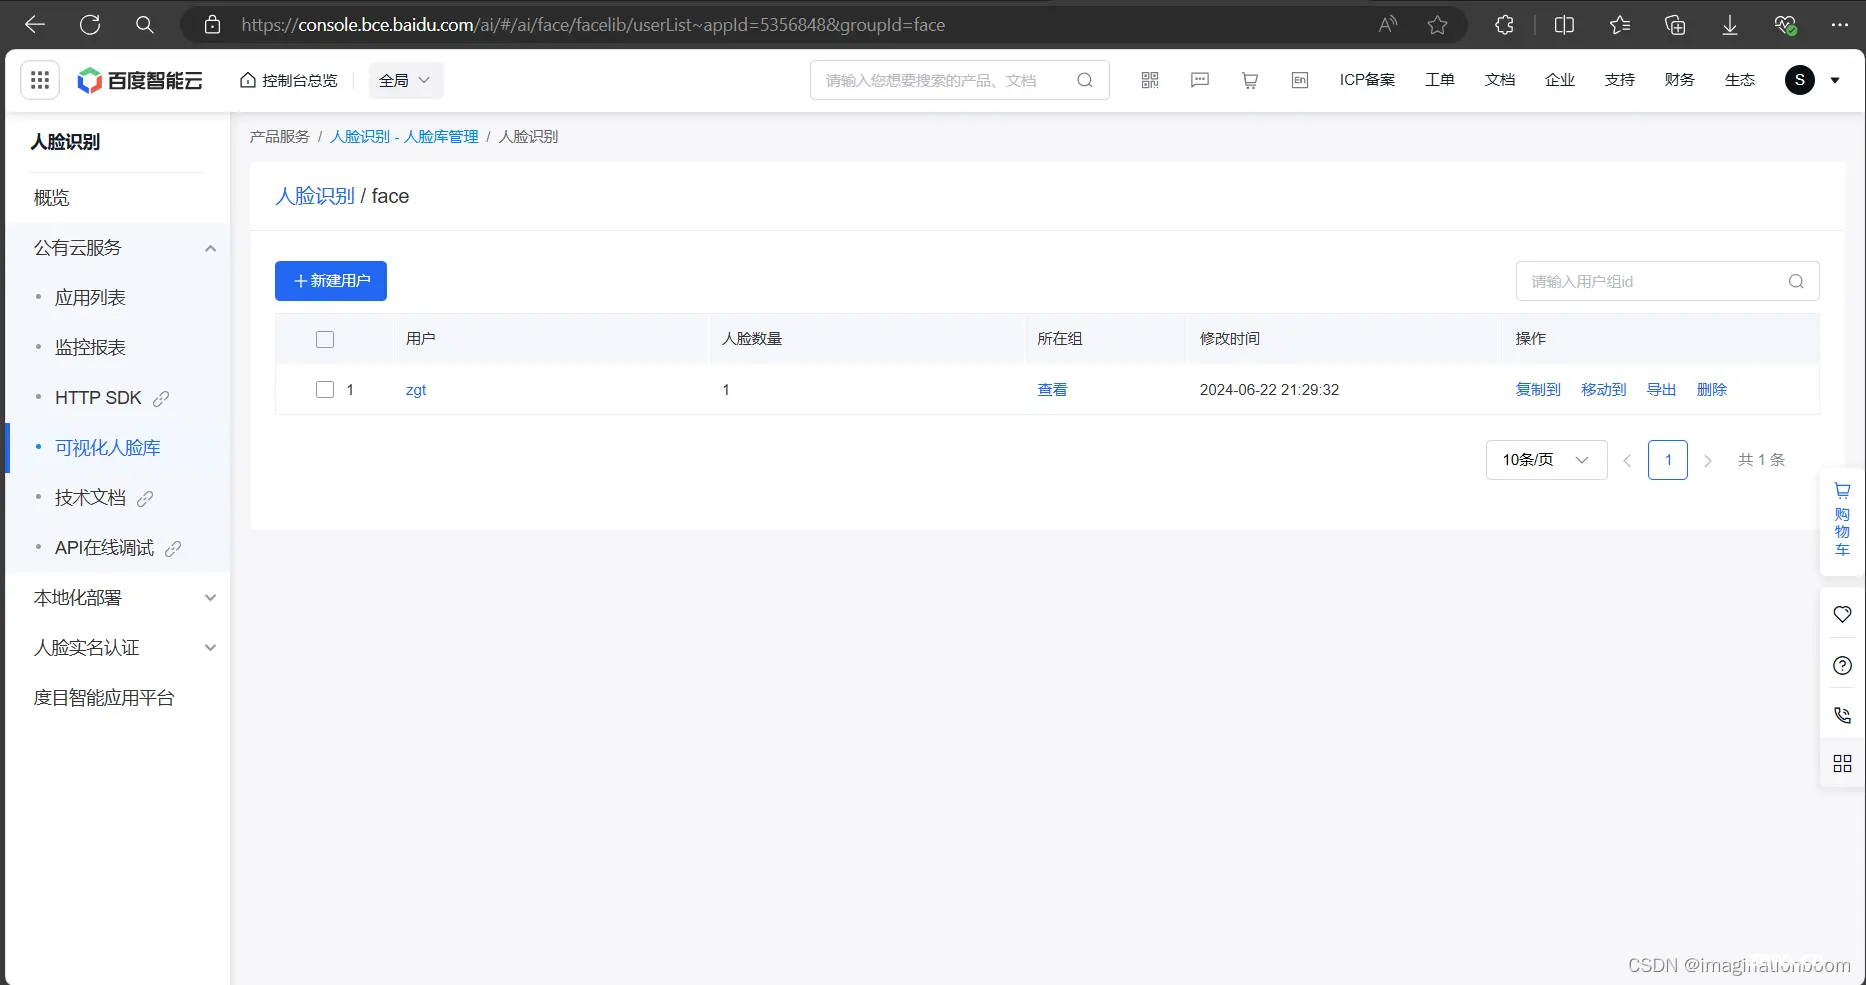
5人脸识别程序配置
接下来,往你的这个库里面添加人脸和用户
二,代码实现
1前期配置
导入你的应用信息,在百度智能云中的应用列表中可以复制
<code>private string APP_ID = "你的APP_ID";
private string API_KEY = "你的API_KEY";
private string SECRET_KEY = "你的SECRET_KEY";
private Face client = null;
private bool IsStart = false;
private FaceLocation location = null;
private FilterInfoCollection videoDevices = null;
private VideoCaptureDevice videoSource;
读入你人脸库的图片
public string ReadImg(string img)
{
return Convert.ToBase64String(File.ReadAllBytes(img));
}
链接电脑摄像头
private void CameraConn()
{
if (comboBox1.Items.Count<=0)
{
MessageBox.Show("请插入视频设备");
return;
}
videoSource = new VideoCaptureDevice(videoDevices[comboBox1.SelectedIndex].MonikerString);
videoSource.DesiredFrameSize = new System.Drawing.Size(320, 240);
videoSource.DesiredFrameRate = 1;
videoSourcePlayer1.VideoSource = videoSource;
videoSourcePlayer1.Start();
}
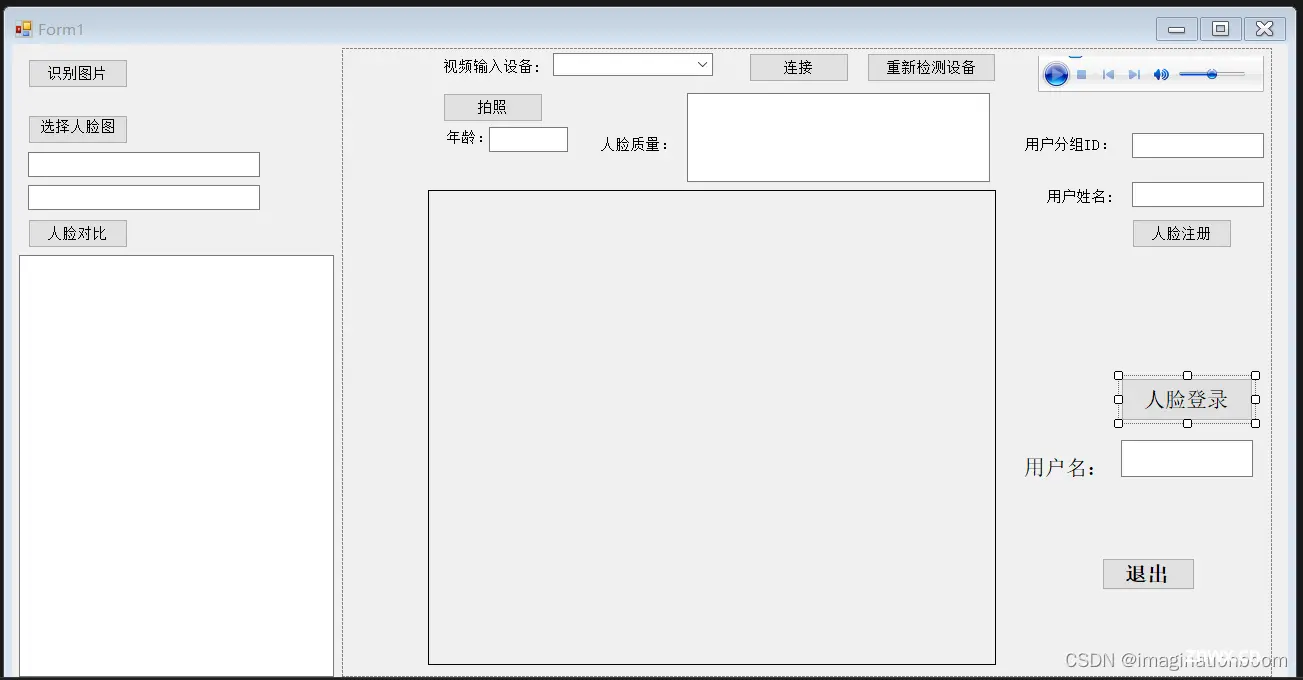
2窗体设计
将你想要实现的功能需要的控件添加到窗体中
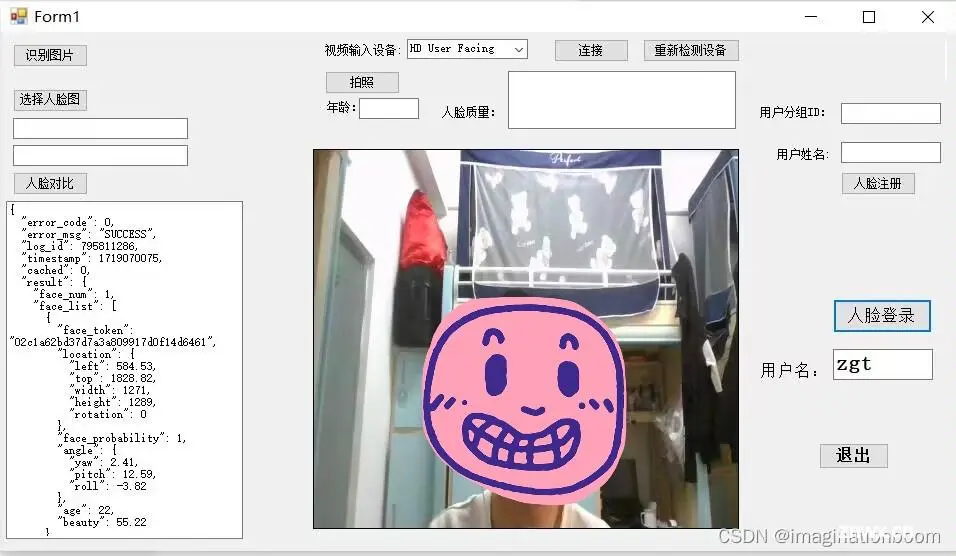
3人脸检测
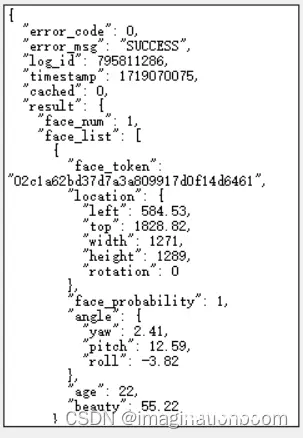
这段代码的主要实现的功能是接受并处理图像数据,也就是将传入的图像转换为 Bitmap 格式,并进一步处理为百度人脸识别所需的 Base64 格式字符串。然后调用百度人脸检测API,并返回检测结果。最后是解析并显示人脸检测结果,提取出人脸的位置、年龄、模糊程度等信息,并在用户界面上显示这些信息。
<code>public void Detect(object image)
{
if (image!=null && image is Bitmap)
{
try
{
Bitmap img = (Bitmap)image;
var imgByte = Bitmap2Byte(img);
Image im =img ;
string image1 = ConvertImageToBase64(im);
string imageType = "BASE64";
if (imgByte != null)
{
// 如果有可选参数
var options = new Dictionary<string, object>{
{"max_face_num", 2},
{"face_fields", "age,qualities,beauty"}
};
var result = client.Detect(image1, imageType,options);
FaceDetectInfo detect = JsonHelper.DeserializeObject<FaceDetectInfo>(result.ToString());
if (detect!=null && detect.result_num>0)
{
ageText.Text = detect.result[0].age.TryToString();
this.location = detect.result[0].location;
StringBuilder sb = new StringBuilder();
if (detect.result[0].qualities != null)
{
if (detect.result[0].qualities.blur >= 0.7)
{
sb.AppendLine("人脸过于模糊");
}
if (detect.result[0].qualities.completeness >= 0.4)
{
sb.AppendLine("人脸不完整");
}
if (detect.result[0].qualities.illumination <= 40)
{
sb.AppendLine("灯光光线质量不好");
}
if (detect.result[0].qualities.occlusion!=null)
{
if (detect.result[0].qualities.occlusion.left_cheek>=0.8)
{
sb.AppendLine("左脸颊不清晰");
}
if (detect.result[0].qualities.occlusion.left_eye >= 0.6)
{
sb.AppendLine("左眼不清晰");
}
if (detect.result[0].qualities.occlusion.mouth >= 0.7)
{
sb.AppendLine("嘴巴不清晰");
}
if (detect.result[0].qualities.occlusion.nose >= 0.7)
{
sb.AppendLine("鼻子不清晰");
}
if (detect.result[0].qualities.occlusion.right_cheek >= 0.8)
{
sb.AppendLine("右脸颊不清晰");
}
if (detect.result[0].qualities.occlusion.right_eye >= 0.6)
{
sb.AppendLine("右眼不清晰");
}
if (detect.result[0].qualities.occlusion.chin >= 0.6)
{
sb.AppendLine("下巴不清晰");
}
if (detect.result[0].pitch>=20)
{
sb.AppendLine("俯视角度太大");
}
if (detect.result[0].roll>=20)
{
sb.AppendLine("脸部应该放正");
}
if (detect.result[0].yaw>=20)
{
sb.AppendLine("脸部应该放正点");
}
}
}
if (detect.result[0].location.height<=100 || detect.result[0].location.height<=100)
{
sb.AppendLine("人脸部分过小");
}
textBox4.Text = sb.ToString();
if (textBox4.Text.IsNull())
{
textBox4.Text = "OK";
}
}
}
}
catch (Exception ex)
{
ClassLoger.Error("Form1.image", ex);
}
}
}
运行结果是这样的,显示了人脸的基本信息,甚至可以估计你的年龄和颜值分(看看就行,自信的人最美)。
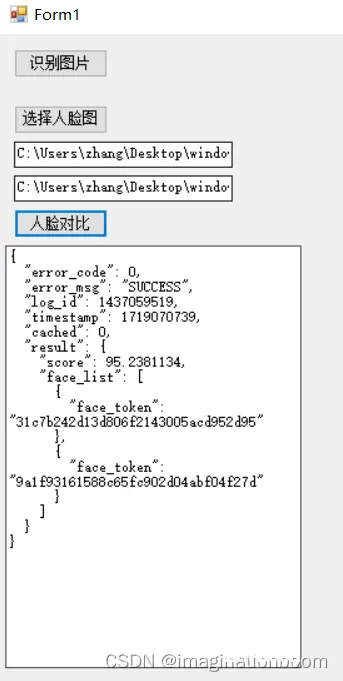
4人脸对比
<code>private void button2_Click(object sender, EventArgs e)
{
if (string.IsNullOrEmpty(textBox2.Text) || string.IsNullOrEmpty(textBox3.Text))
{
MessageBox.Show("请选择要对比的人脸图片");
return;
}
try
{
string path1 = textBox2.Text;
string path2 = textBox3.Text;
var faces = new JArray
{
new JObject
{
{"image", ReadImg(path1)},
{"image_type", "BASE64"},
{"face_type", "LIVE"},
{"quality_control", "LOW"},
{"liveness_control", "NONE"},
},
new JObject
{
{"image", ReadImg(path2)},
{"image_type", "BASE64"},
{"face_type", "LIVE"},
{"quality_control", "LOW"},
{"liveness_control", "NONE"},
}
};
// 带参数调用人脸比对
var result = client.Match(faces);
textBox1.Text = result.ToString();
}
catch (Exception ex)
{
MessageBox.Show(ex.Message);
}
}
选择两张照片进行对比,我用两张自己的照片对比了下,基本相似度在90左右。
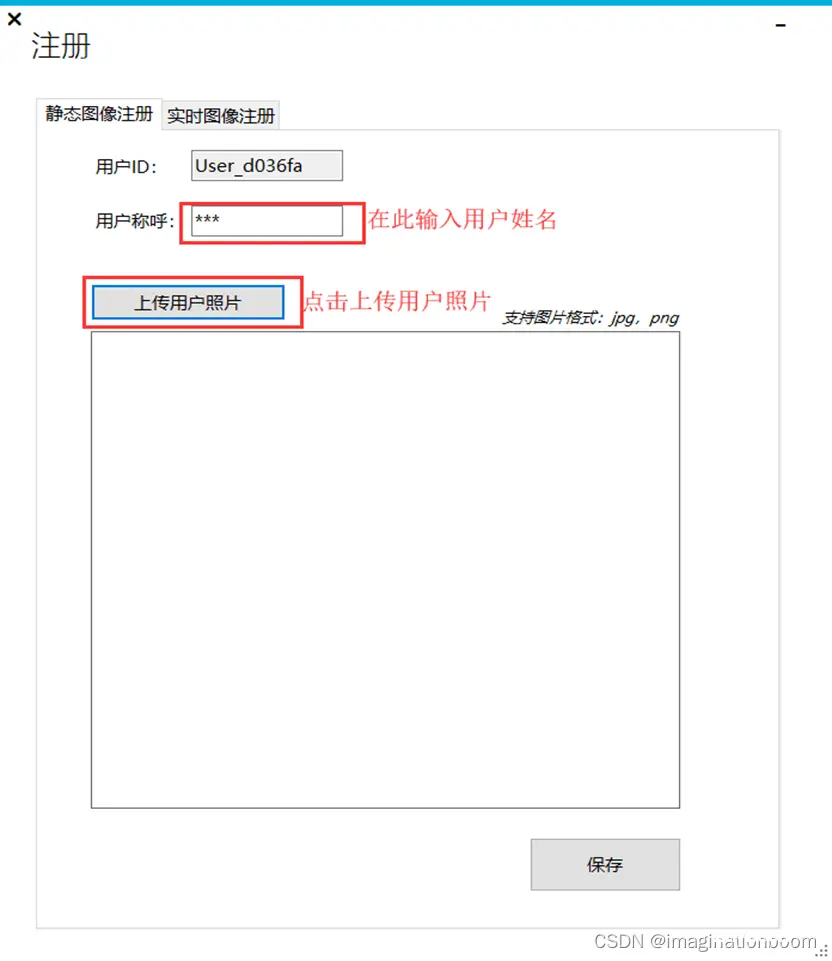
5人脸注册
用户输入用户称呼,点击上传用户照片,然后在文件夹中选择用户本人的照片,最后点击保存按钮,即可完成静态图像注册(注:用户ID为系统自动生成,无需输入)。
6人脸登录
三,总结
本博客展示了如何使用C#和百度AI接口实现人脸检测和人脸比对功能。第一段代码通过检测图像中的人脸,提取并分析人脸的质量属性,如年龄、模糊度和光照等,确保图像质量符合要求。第二段代码则进一步实现了人脸比对,通过比较两张人脸图像来确定它们是否属于同一个人。
上一篇: 利用AI开源引擎平台:构建文本、图片及视频内容审核系统|可本地部署
本文标签
声明
本文内容仅代表作者观点,或转载于其他网站,本站不以此文作为商业用途
如有涉及侵权,请联系本站进行删除
转载本站原创文章,请注明来源及作者。