PYQT5 QWebEngineView 使用HTML+JS 代替GUI开发桌面应用程序
愿世界多点反卷侠 2024-08-04 09:03:05 阅读 53
1.引言
此教程适用于熟悉使用前端开发应用界面,并且由于一些需求使用Electron.js无法满足,需要用到python的朋友
使用QWebChannel,进行PyThon与JavaScript的数据交互,无需再创建http或websocket。
2.环境
python环境
<code>pip install PyQt5
pip install PyQtWebEngine
3.引入qwebchannel.js
1.使用pyqt资源引入
<script src="qrc:///qtwebchannel/qwebchannel.js"></script>code>
2.使用本地引用
点此去gitub下载,下载完成后使用即可
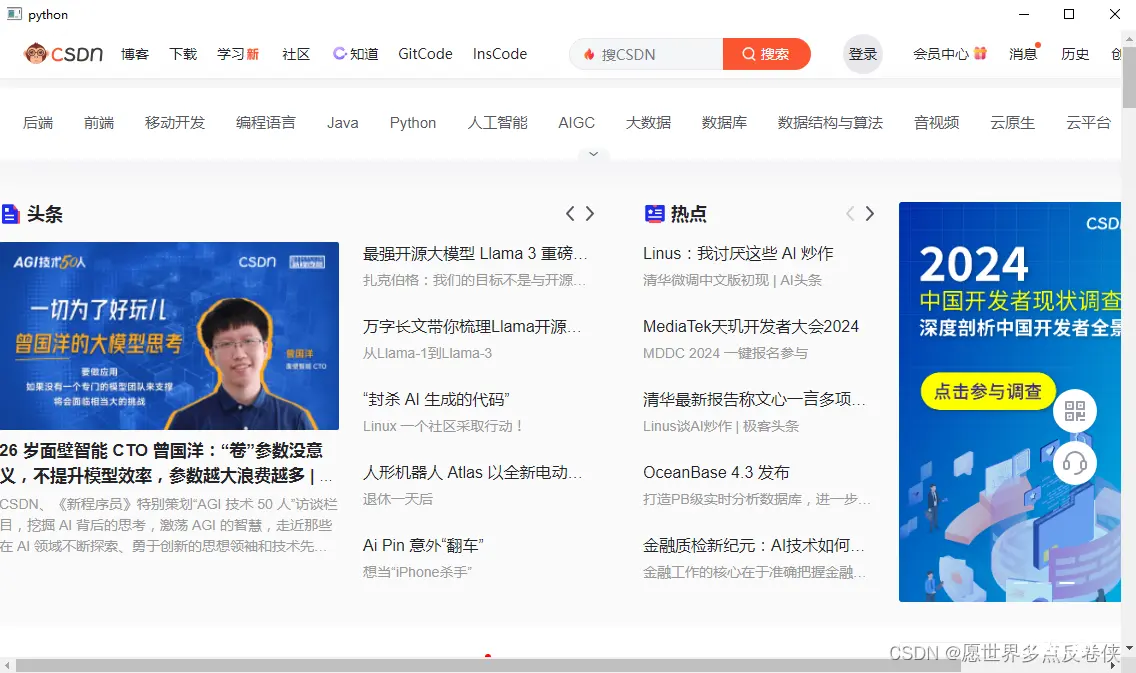
4.使用QWebEngIneView打开
from PyQt5.Qt import *
from PyQt5.QtWebEngineWidgets import QWebEngineView
if __name__ == "__main__":
app = QApplication([])
web_view = QWebEngineView()
# 加载本地静态
# web_view .load(QUrl.fromLocalFile('F:\other project\py-1\magnet\\11.html'))
# 加载地址
web_view .load(QUrl('https://www.csdn.net/'))
web_view.show()
app.exec_()

5.JavaScript与Python数据交互
1.python
<code>from PyQt5.Qt import *
from PyQt5.QtWebEngineWidgets import QWebEngineView
# 此类是将信号暴露给前端,前端监听此信号即可获取python参数
class WebChannelConnect(QObject):
# 定义一个信号
triggered = pyqtSignal(int)
# 此类是监听前端的信号,前端触发此信号,python即可获取参数
class WebChannelReceiver(WebChannelConnect):
# 必填,每一个监听前端的函数都需要
@pyqtSlot(str)
def sendDataToPython(self, message):
print("接收到的消息:", message)
# 收到消息后,给前端发送一个消息
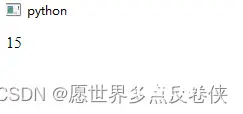
self.triggered.emit(15)
# 此类将上述两个类整合(注意函数重名)
class WebChannel(WebChannelReceiver):
pass
if __name__ == '__main__':
app = QApplication([])
webview = QWebEngineView()
# 创建WebChannel通道
web_channel = QWebChannel()
receiver = WebChannel()
# 将我们定义的信号和事件绑定到WebChannel通道的'receiver'属性
web_channel.registerObject('receiver', receiver)
# 将通道设置到页面上
webview.page().setWebChannel(web_channel)
webview.load(QUrl.fromLocalFile('F:\other project\py-1\magnet\\11.html'))
webview.show()
app.exec_()
代码中的triggered信号:是在python端进行触发,前端进行监听
sendDataToPython函数,会在前端调用时运行此处逻辑
2.HTML
<!DOCTYPE html>
<html>
<head>
<!--QWebEngineView环境内可以资源引入-->
<script src="qrc:///qtwebchannel/qwebchannel.js"></script>code>
</head>
<body>
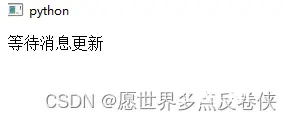
<div id="example">等待消息更新</div>code>
</body>
<script>
var example = document.getElementById('example')
new QWebChannel(qt.webChannelTransport, function (channel) {
// 此处的'receiver'必须和python的registerObject第一个参数对应
window.backend = channel.objects.receiver;
// 监听Python的triggered信号
window.backend.triggered.connect(function (res) {
console.log("Received event from Python");
example.innerHTML = res
// 在这里执行你想要的操作
});
// 2秒后,触发Python的事件,然后触发本地监听的triggered事件,更新视图
setTimeout(function () {
window.backend.sendDataToPython(123)
}, 2000)
});
</script>
</html>
3.运行结果
1.python

2.html


6.使用注意
1.使用QWebEngineView不比浏览器,很多特效会很卡顿,比如动画和过渡至于画布还没尝试
2.在QWebEngineView不支持新便签页中打开,请不要使用此类跳转
声明
本文内容仅代表作者观点,或转载于其他网站,本站不以此文作为商业用途
如有涉及侵权,请联系本站进行删除
转载本站原创文章,请注明来源及作者。