教程6 Vue3+Element Plus el-carousel制作轮播图(后面有修改样式的方法)
CSDN 2024-06-11 13:33:03 阅读 77
实验 轮播图
1、引入Element Plus
(1)引入Element开发环境
npm install element-plus --save

(2)自动引入Element
npm install -D unplugin-vue-components unplugin-auto-import

(3)在配置文件中进行配置,本人使用的是Vit构建工具
如果使用Vite作为构建工具,配置文件为vite.config.js,配置方法如下:
import { fileURLToPath, URL } from "node:url";import { defineConfig } from "vite";import vue from "@vitejs/plugin-vue";import AutoImport from 'unplugin-auto-import/vite';import Components from 'unplugin-vue-components/vite';import { ElementPlusResolver } from 'unplugin-vue-components/resolvers';export default defineConfig({ plugins: [ vue(), AutoImport({ resolvers: [ElementPlusResolver()], }), Components({ resolvers: [ElementPlusResolver()], }), ], resolve: { alias: { "@": fileURLToPath(new URL("./src", import.meta.url)), }, }, server: { port: 8080, },});
(4)Element Plus全局引入
main.ts中增加下面的代码:
import { createApp } from 'vue'import './style.css'import App from './App.vue'import ElementPlus from "element-plus";const app = createApp(App);app.use(ElementPlus);app.mount('#app')
2、使用简单的在线图片制作轮播图
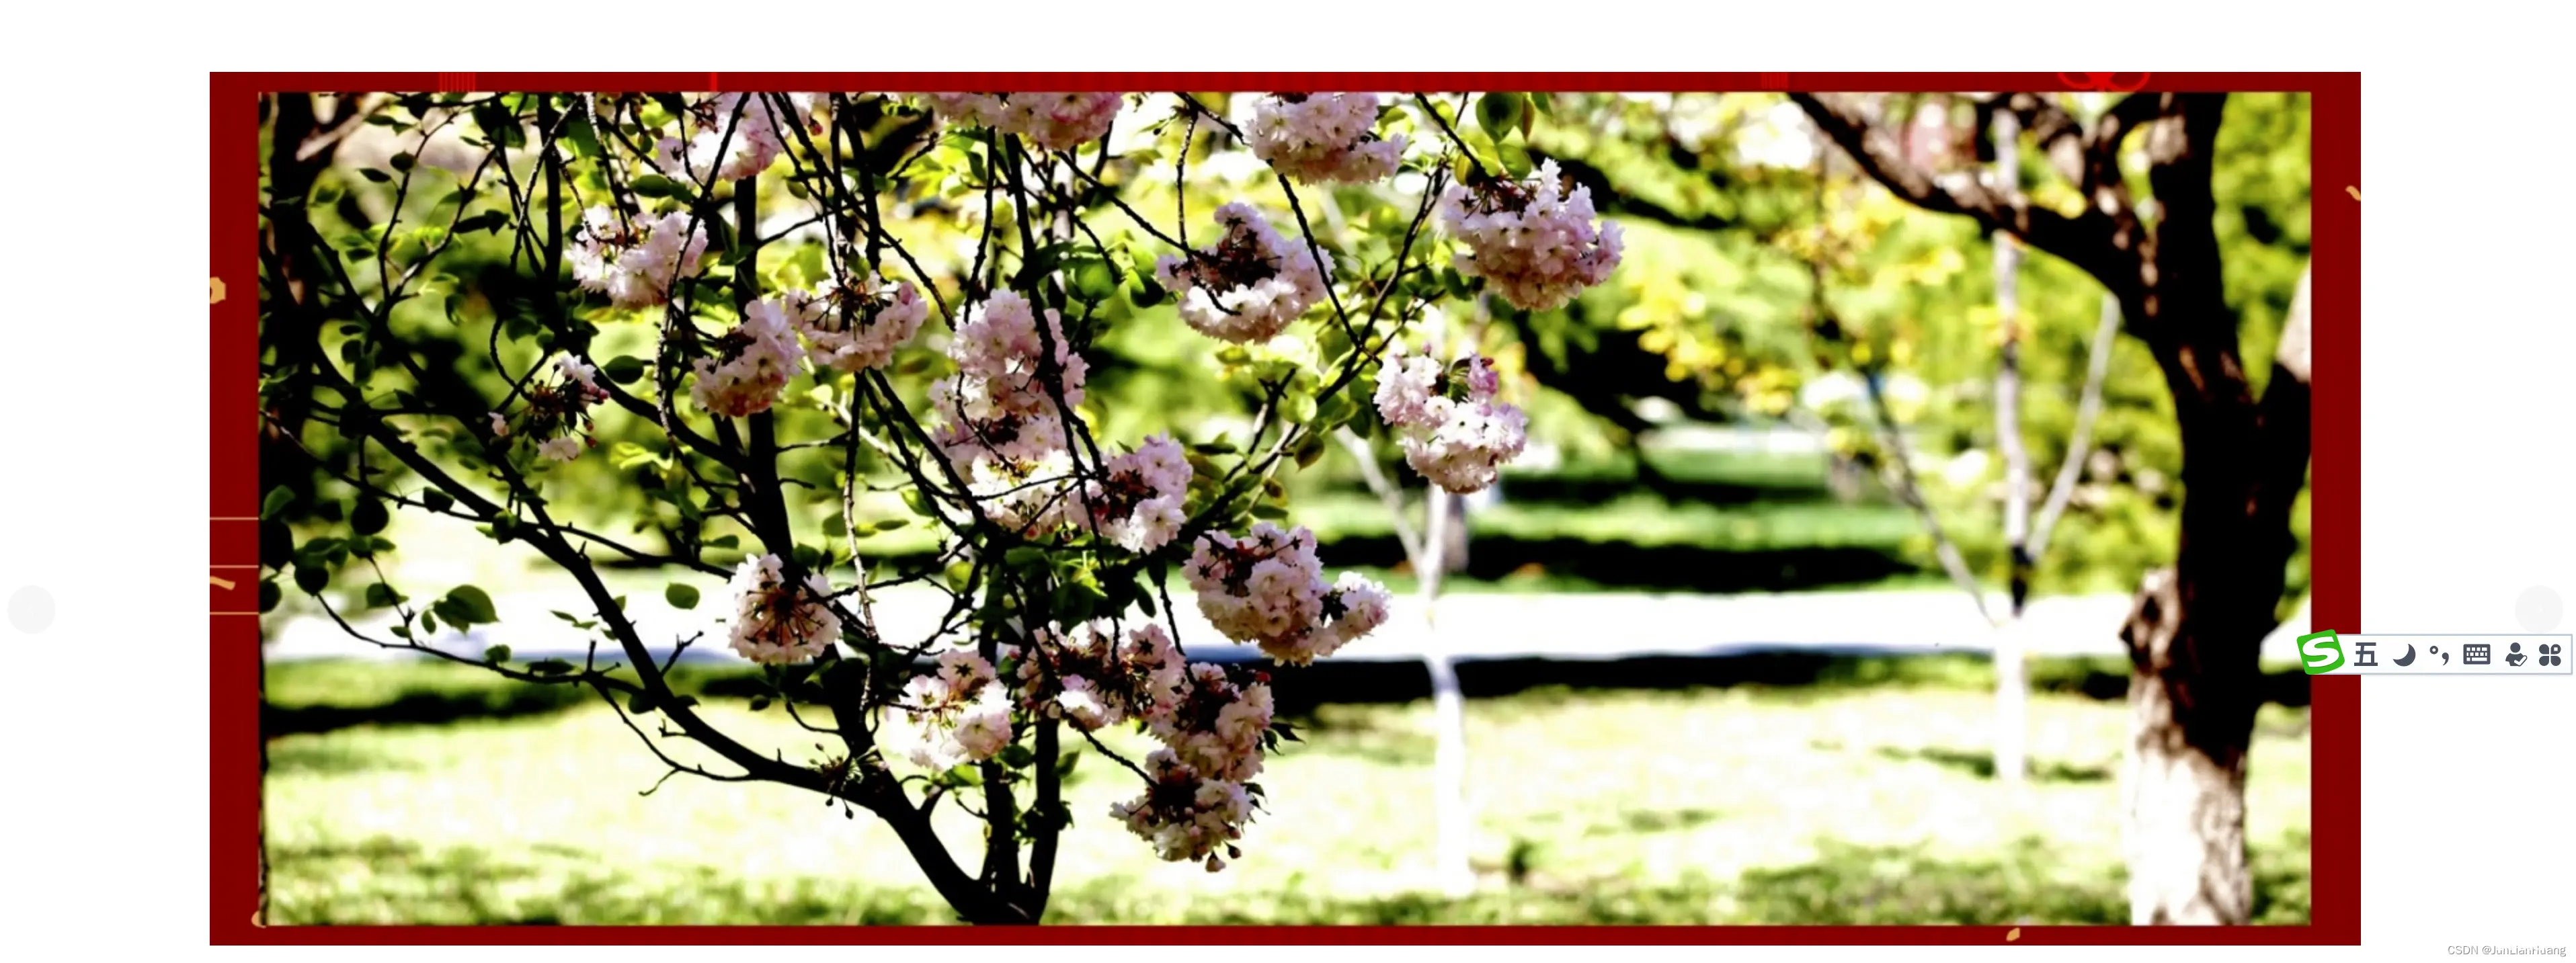
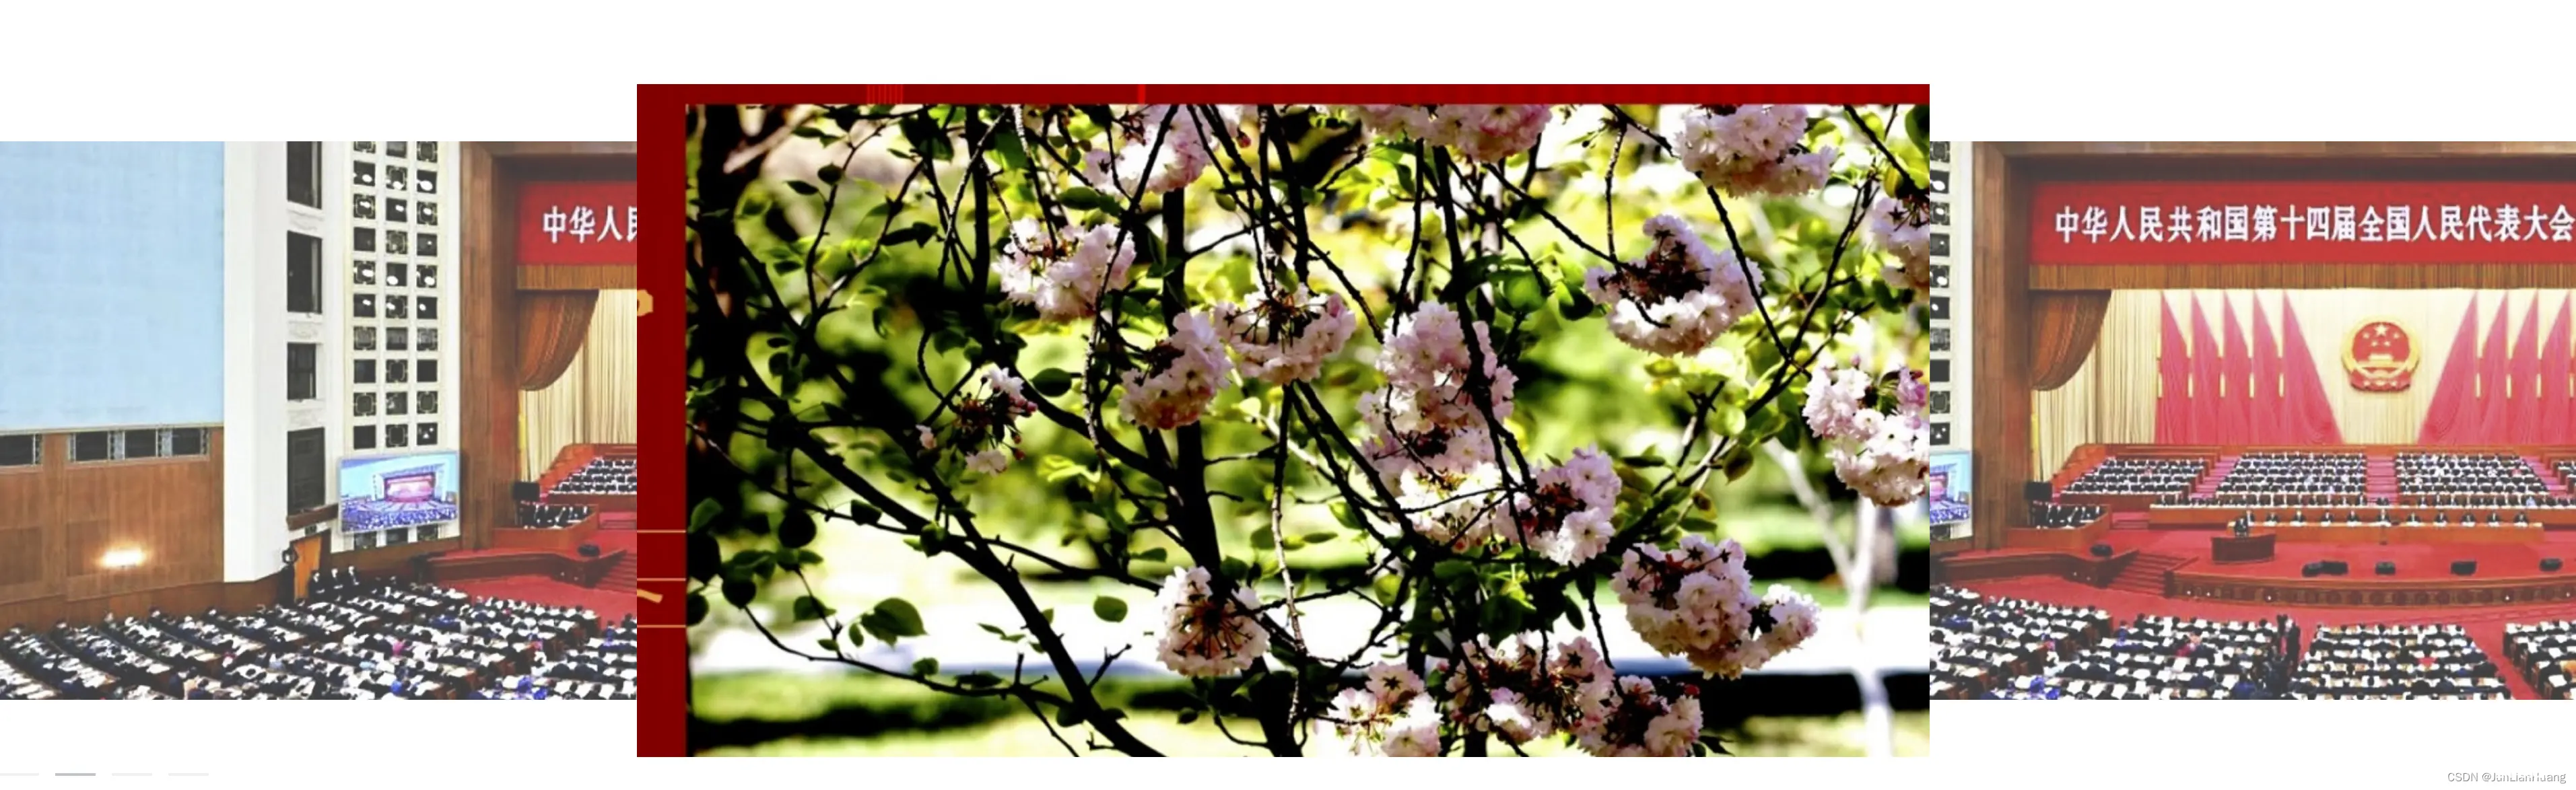
(1)运行效果
(2)Rotation.vue参考代码
<template> <div class="block text-center" style="text-align:center"> <el-carousel height="800px"> <el-carousel-item v-for="item in imageUrl" :key="item"> <img :src="item.url" alt=""/> </el-carousel-item> </el-carousel> </div></template><script setup lang="ts">const imageUrl = [ { url: "http://www.gengdan.cn/wp-content/uploads/2023/03/2023030921323441.jpg" }, { url: "http://www.gengdan.cn/wp-content/uploads/2023/03/2023030921333114.jpg" }, { url: "http://www.gengdan.cn/wp-content/uploads/2023/03/2023030921323441.jpg" }, { url: "http://www.gengdan.cn/wp-content/uploads/2023/03/2023030921325368.jpg" }];</script>
(3)卡片式轮播图
<el-carousel height="500px" type="card"> ……</el-carousel>
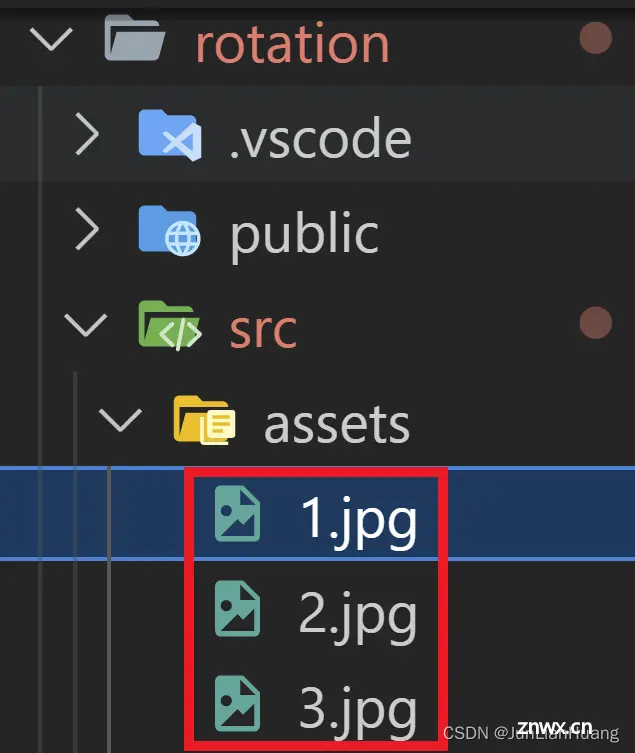
3、图片放入src/assets/(解决方法一)
<script setup lang="ts">import image1 from "../assets/1.jpg";import image2 from "../assets/2.jpg";import image3 from "../assets/3.jpg";import image4 from "../assets/4.jpg";const imageUrl = [ { url: image1 }, { url: image2 }, { url: image3 }, { url: image4 },];</script>
4、图片放入src/assets/(解决方法二)
(1)新建一个文件src/utils/utils.ts,用于读取静态图片
// 获取assets静态资源const getAssetsFile = (url: string) => { return new URL(`../assets/${ url}`, import.meta.url).href;};export default { getAssetsFile,};
(2)创建src/components/Rotation.vue
<template> <div style="display: grid; place-items: center;"> <el-carousel :interval="5000" arrow="always"> <el-carousel-item v-for="item in imageList" :key="item"> <img :src="item.url" no-repeat style="object-fit: fill;height:100%; width:100%;" /> </el-carousel-item> </el-carousel> </div></template><script setup lang="ts">import utils from '../utils/utils'//定义跑马灯的图片路径const imageList = [ { url: utils.getAssetsFile('1.jpg') }, { url: utils.getAssetsFile('2.jpg') }, { url: utils.getAssetsFile('3.jpg') },];</script><style scoped>.el-carousel { width: 1200px;}.el-carousel__item img { width: 100%; height: 100%; color: #475669; opacity: 0.75; margin: 0; text-align: center;}</style>
(3)修改App.vue
<template> <Rotation/></template><script setup lang="ts">import Rotation from './components/Rotation.vue';</script>
(4)运行
cd rotationnpm installnpm run dev
5、修改轮播图的样式(修改指示器为小圆点、修改左右箭头)

<style scoped>/* 需要改变vue自带的样式时需要在元素前面加上::v-deep*//* 左箭头 */:deep(.el-carousel__arrow--left) { top: 250px; left: 0px; font-size: 24px; font-weight: 900; color: orange; /* 设置背景图片 */ background: url("../assets/left.jpg") no-repeat center center; background-size: auto 40px;}/* 右箭头 */:deep(.el-carousel__arrow--right) { top: 250px; right: -13px; font-size: 24px; color: blue;}/* 水平指示器 */:deep(.el-carousel__indicators--horizontal) { background: red; /* background: transparent; */ bottom: 0px; border-radius: 20%;}/* 将轮播图指示器变成圆点 */:deep(.el-carousel__indicator--horizontal .el-carousel__button) { width: 10px; height: 10px; /* background: transparent; */ background: greenyellow; border: 1px solid #ffffff; border-radius: 50%; /*不透明度 */ opacity: 0.5;}/* 当前被选中的指示器样式 */:deep(.el-carousel__indicator--horizontal.is-active .el-carousel__button) { width: 10px; height: 10px; background: yellow; border-radius: 50%; opacity: 1;}:deep(.el-carousel__container) { width: 100%;}</style>
下一篇: 10.一篇文章带你理解及使用CSS(前端邪术-化妆术)
本文标签
声明
本文内容仅代表作者观点,或转载于其他网站,本站不以此文作为商业用途
如有涉及侵权,请联系本站进行删除
转载本站原创文章,请注明来源及作者。